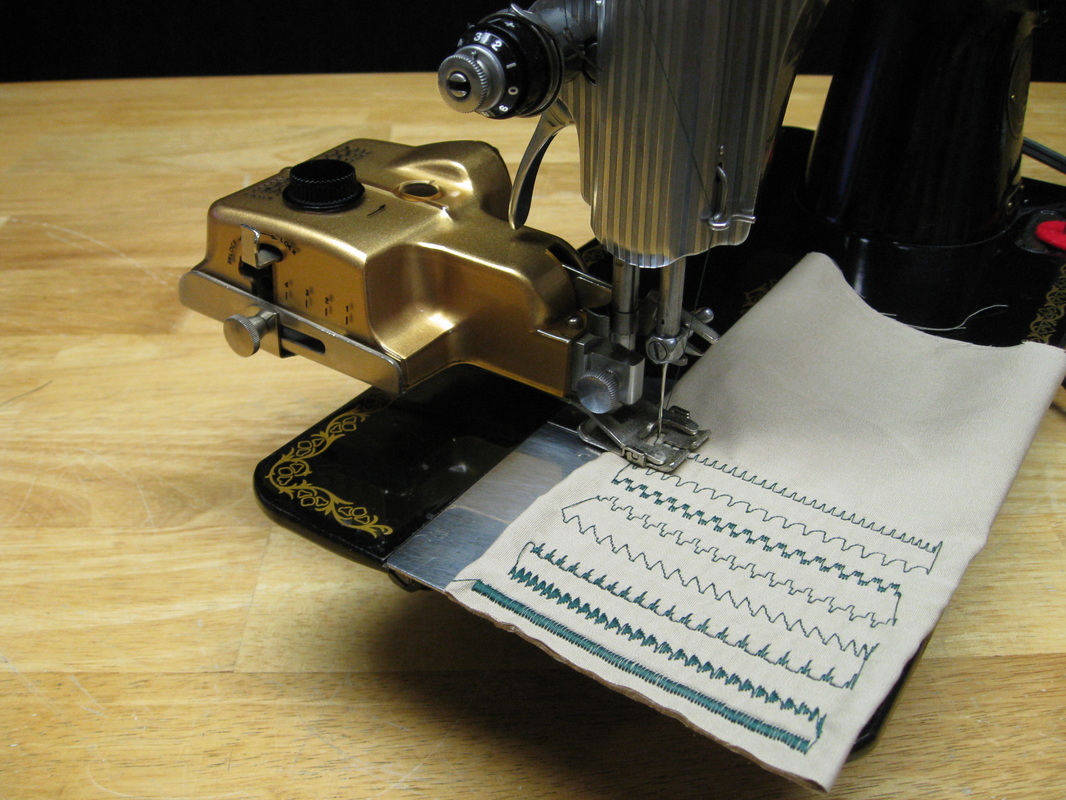
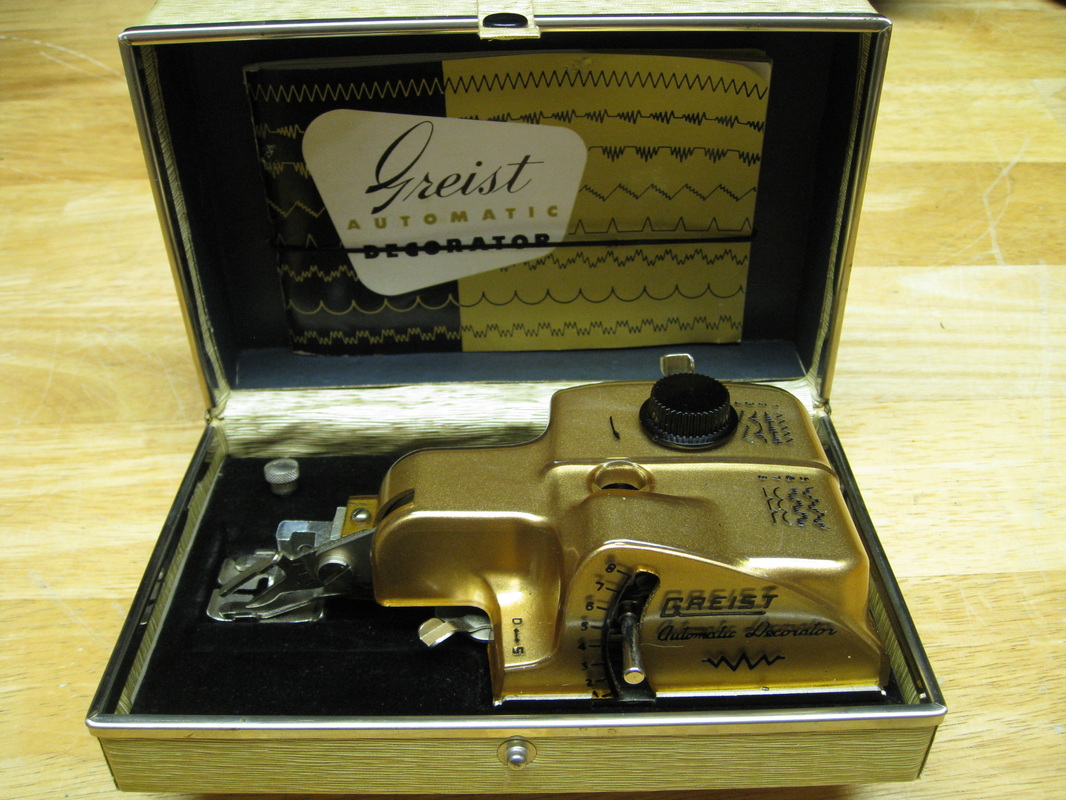
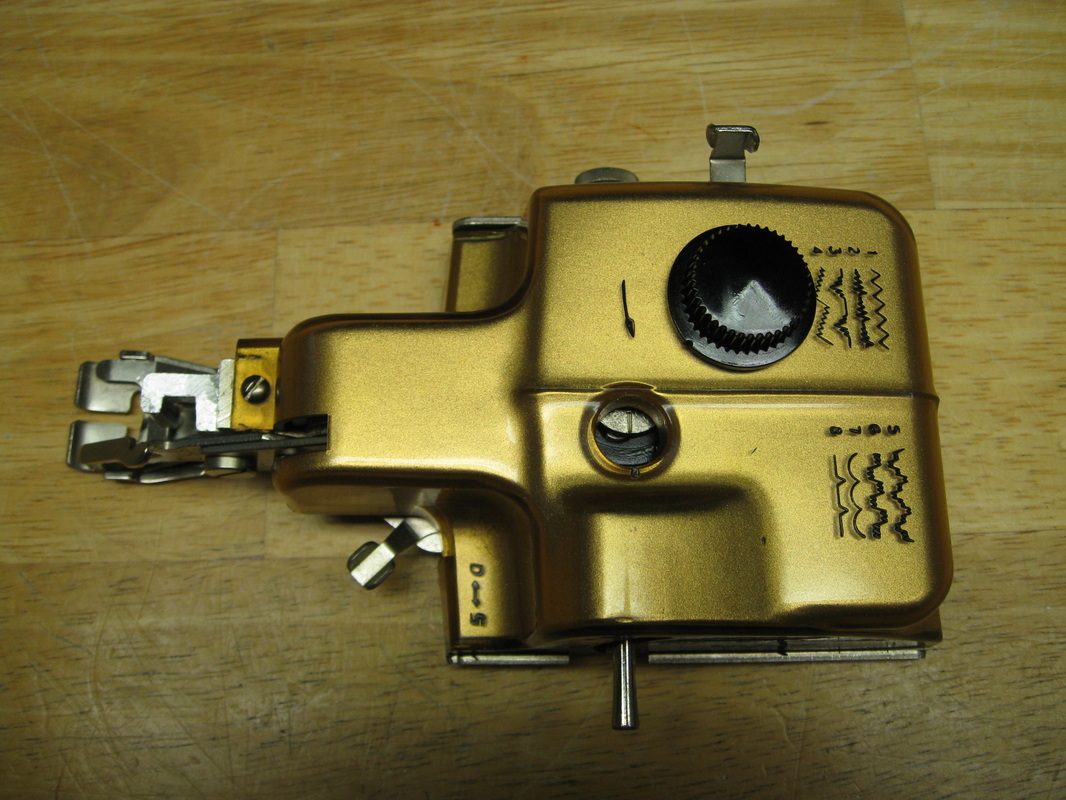
 Attached to a Singer 15-91. Attached to a Singer 15-91. As discussed in the article "To Greist or Not to Greist," some collectors turn up their noses at Greist attachments because they don't bear the Singer name. But that doesn't make them inferior. In fact, they can be decidedly superior at times, as I discovered when I tested this one. How so?  Lever on side selects stitch pattern. Lever on side selects stitch pattern. First of all, it's fully automatic, which means that there are eight stitch patterns built-in. That's right...no cams or discs to change! A lever on the side selects the pattern and away you go. Another lever disengages the zigzag mechanism, allowing you to sew straight-stitch without removing the attachment. 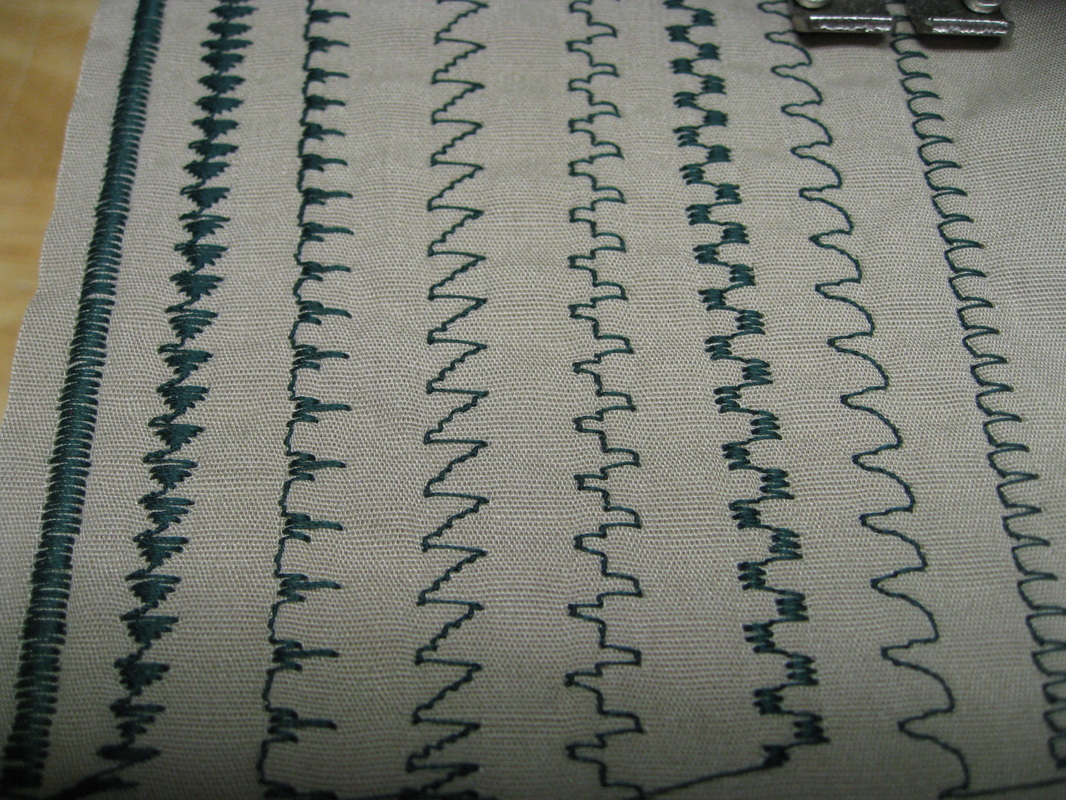 Lovely stitch quality & straight rows! Lovely stitch quality & straight rows! Secondly, the side-to-side zigzag action is so smooth that it's not difficult to guide the fabric in a straight line. A refreshing difference. Third, the stitch quality is the best I've seen from an attachment. Last, but not least, it's one of the prettiest zigzag attachments I've ever seen. With its metallic gold jacket it's a perfect complement to the black and gold Singer Featherweight, 15-91, or other low-shank Singer of your choice. So, would you like to see it in action? Well you get to, whether you want to or not!
See what I'm talking about? The action is smooth and takes very little guidance.
So where can you find one? I've only seen one other like it in the years I've been collecting machines and attachments. The other one had a silver jacket and was made to fit a White sewing machine. I watch for them on eBay but have yet to see one. I don't know if that makes it rare...or simply underappreciated. But keep your eyes open and maybe you'll get lucky! Happy Sewing! Barbara OldSewinGear...dedicated to helping you get the most out of your old sewing gear.
17 Comments
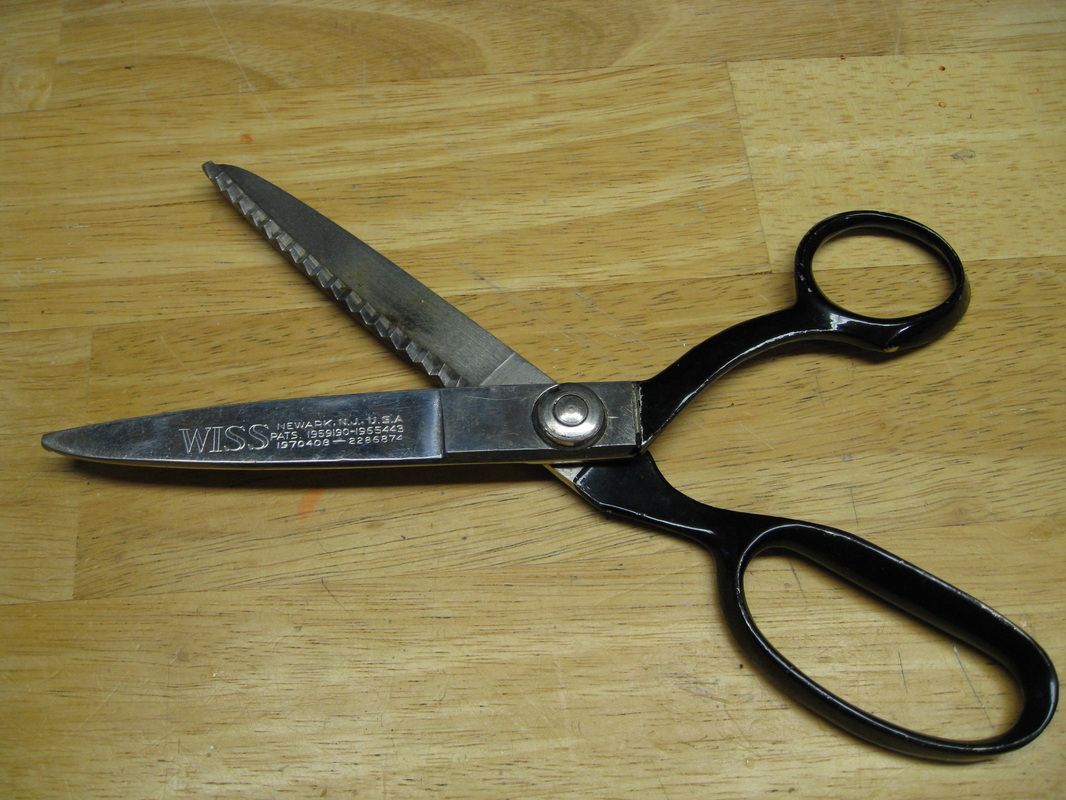 WISS Pinking Shears WISS Pinking Shears Feeling frayed around the edges? If so, you have a lot in common with vintage fashion. Fraying seam allowances were a common problem in the days of straight-stitch-only sewing machines. The advent of the zigzag machine was a step in the right direction and eventually the overlock serger eliminated the problem altogether. But what did people do BEFORE zigzag stitch? That's a good question and (at the risk of irritating my readers) I'm going to answer it with another question. Have you ever heard of "Pinking Shears?"
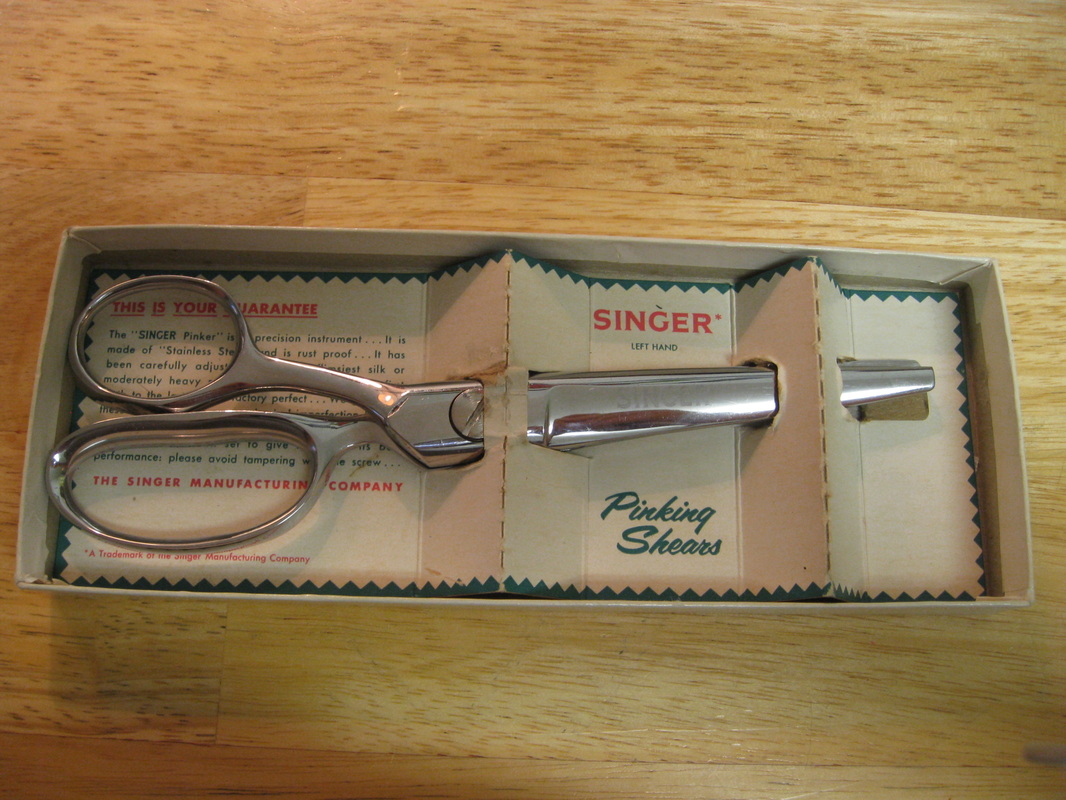
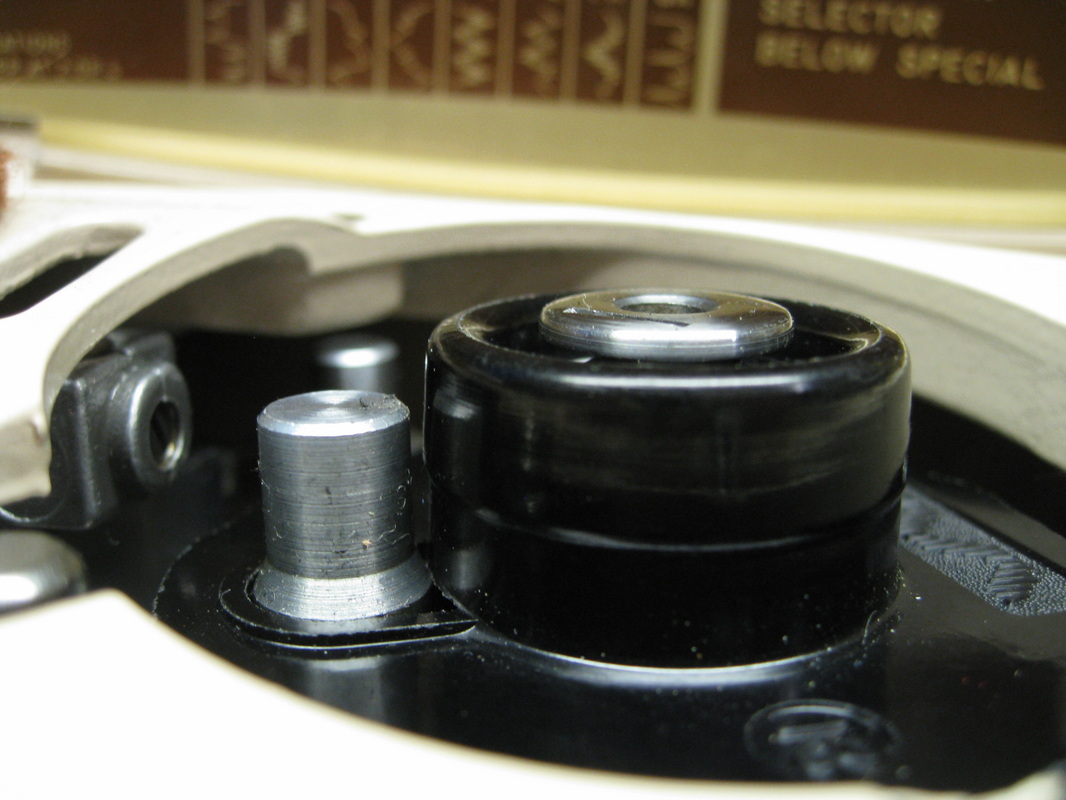
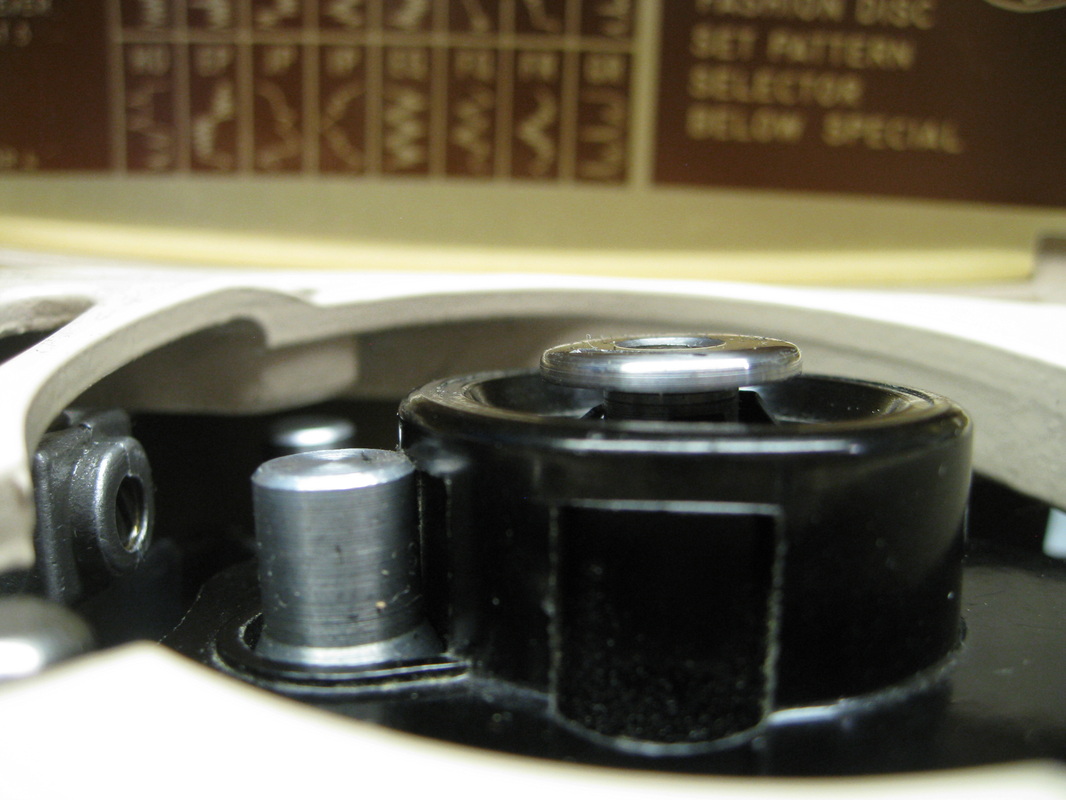
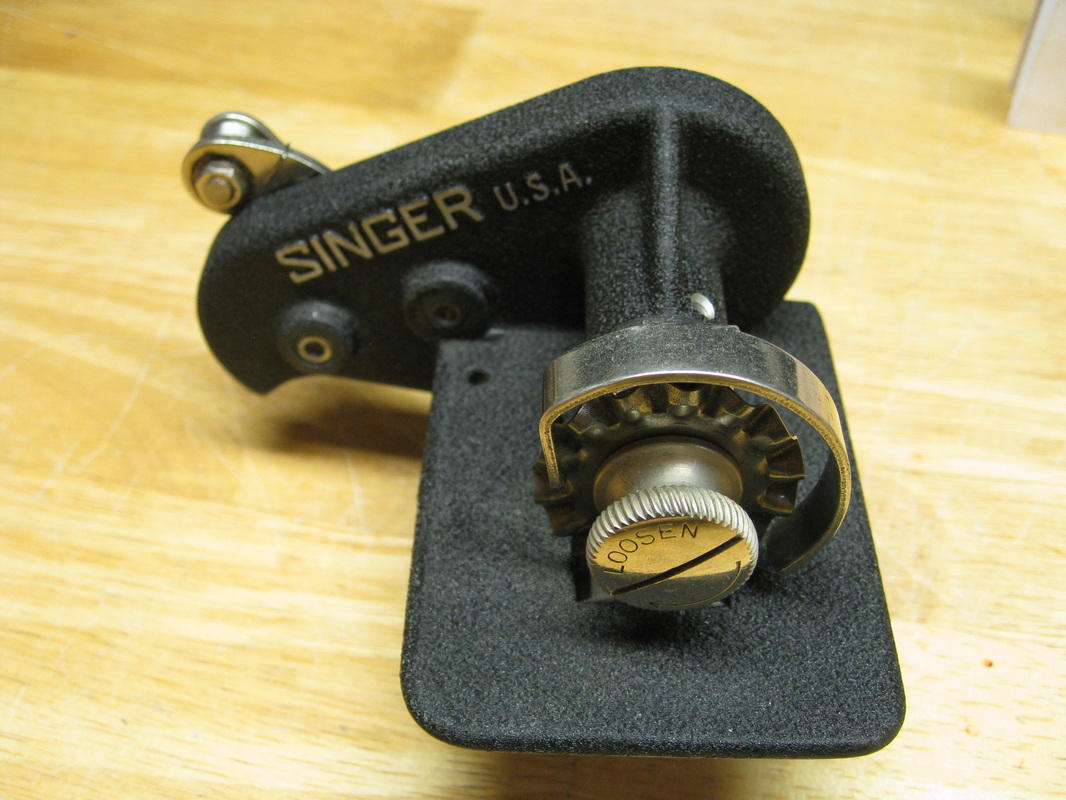 Singer ball bearing Pinking Attachment Singer ball bearing Pinking Attachment As wonderful as pinking shears were, they could be a real pain if you had yards and yards of seam allowances to pink. Literally a pain. These days we have plastic handles and spring action to reduce fatigue, but vintage pinking shears were all steel, which took muscle to hold and operate. Which led to the introduction of the pinking machine, which was roughly equivalent to the invention of electric scissors. Singer's first pinking machine was the ball bearing hand operated Singer Pinker, which was a hand-crank model which clamped to the table edge. A rotary scalloped blade easily pinked the edges of long seams without scissors. In the 1930's, Singer improved on the hand-crank model by introducing the automated ball bearing Singer Pinking Attachment (Simanco Part No. 121111). No more hand cranking. Simply hook it to your sewing machine, step on the foot control, and voila! Want to see it in action? (I thought you'd never ask!)
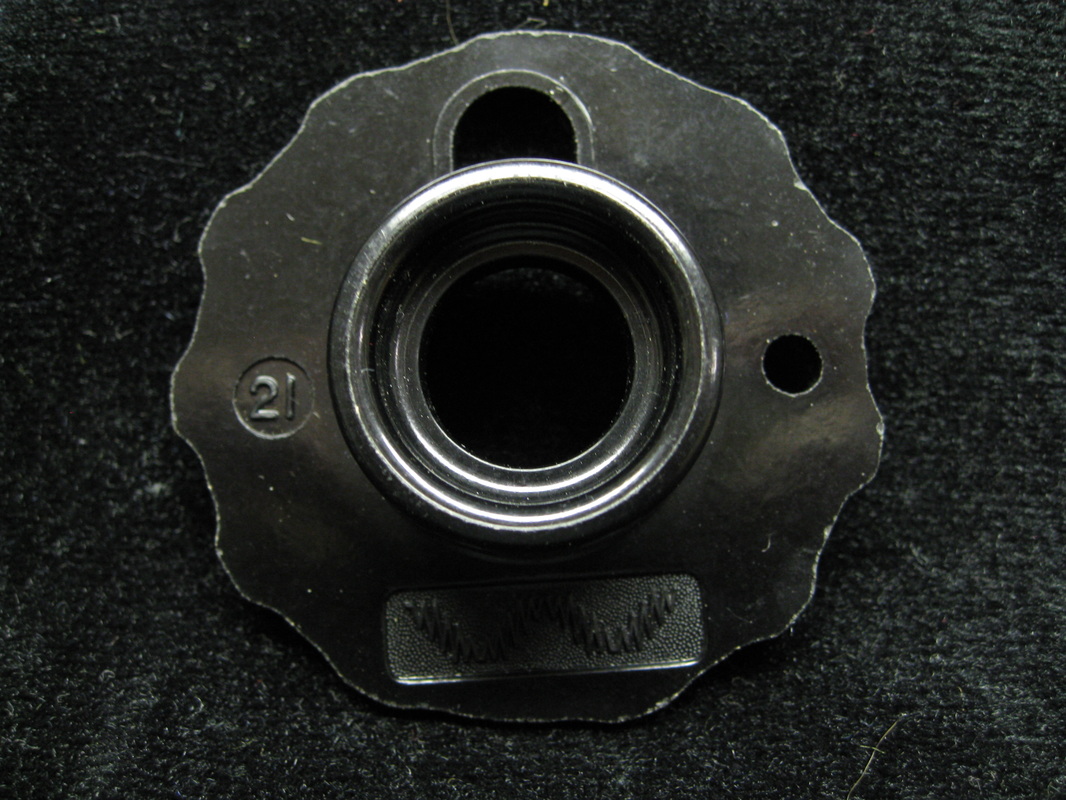
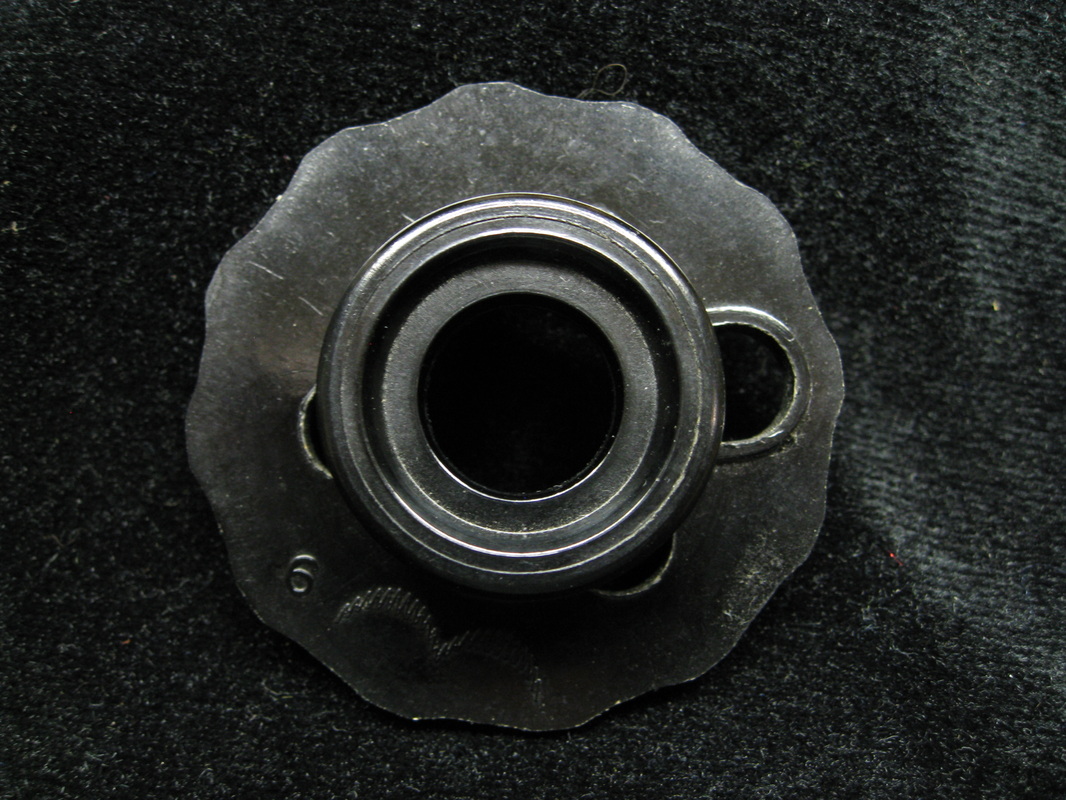
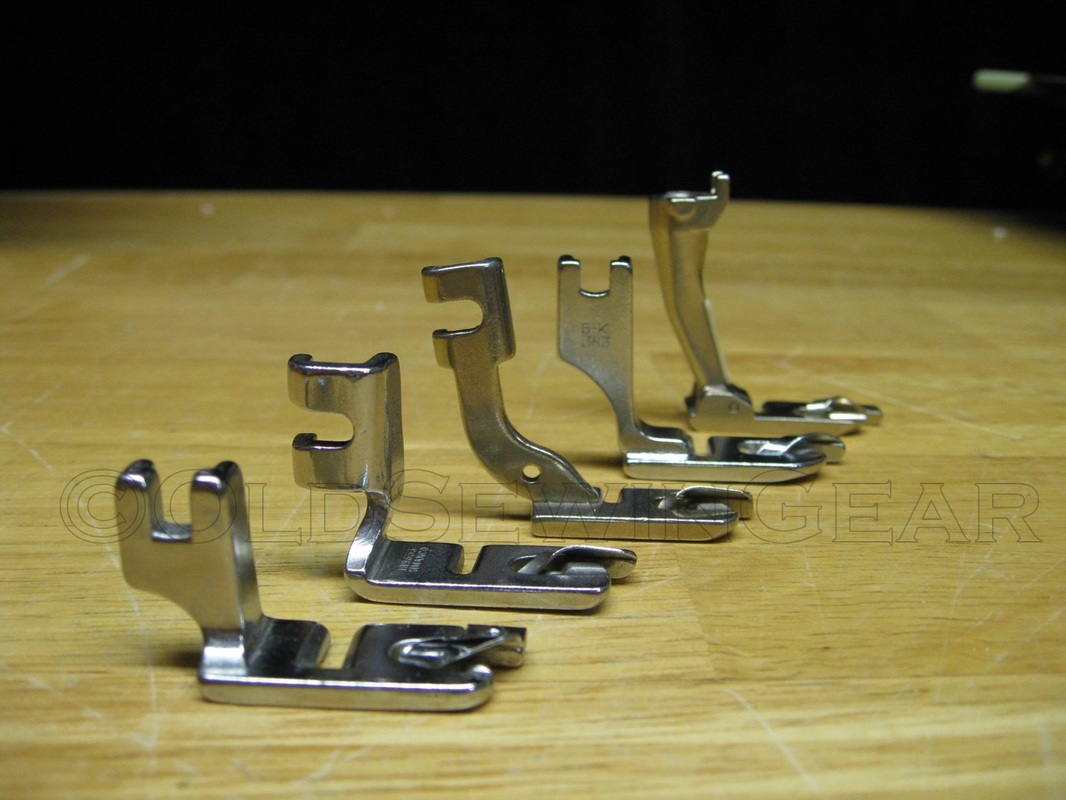
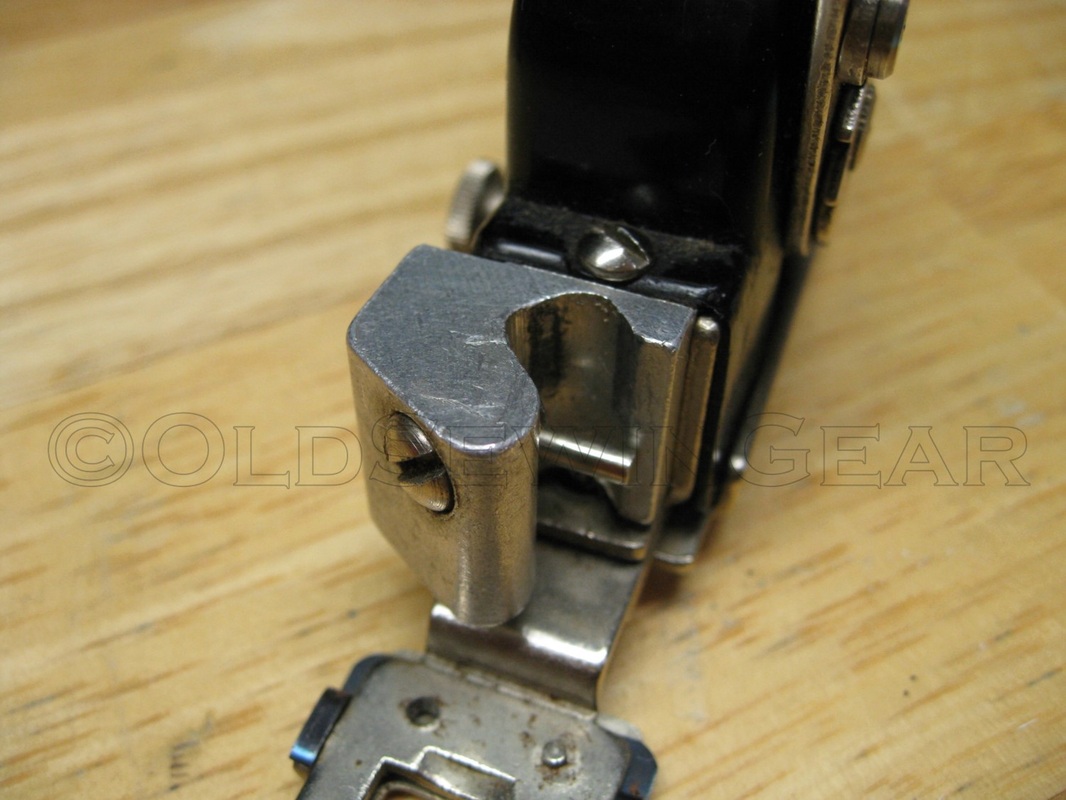
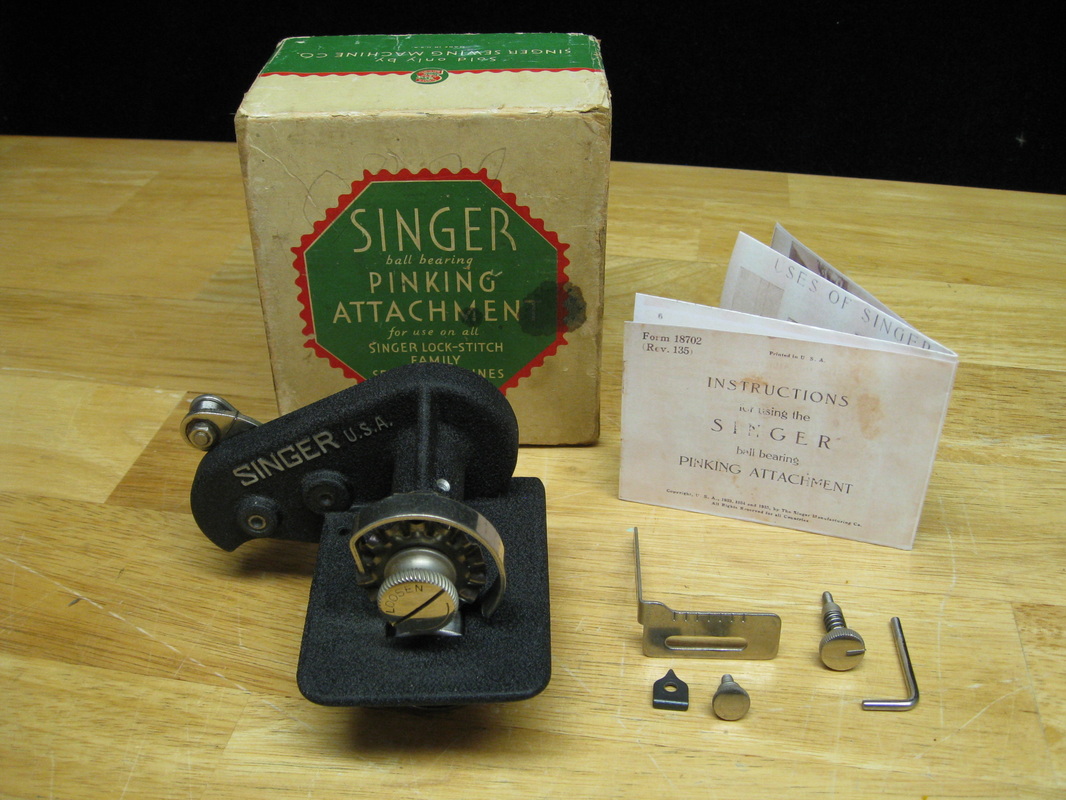 Singer Pinking Attachment with parts Singer Pinking Attachment with parts Pretty cool, isn't it? I'm continually amazed by the ingenuity of the inventors who dreamed up this stuff all those years ago. Now that you've seen it, you're probably wondering "Where do I get one?" Well, they aren't terribly common. I've only encountered two over the years. They came in glossy black finish or pebbled black finish (as shown). They do show up on eBay in varying conditions and degrees of completeness. If you're contemplating purchasing a Singer Pinking Attachment, examine the photos and description carefully to see if anything vital is missing. Commonly missing pieces include the spring-loaded screw that attaches the pinker to the presser foot bar, the adjustable edge guide and the L-shaped pin that locks the gears to enable blade removal. The pin can be easily fabricated, but the edge guide and attaching screw will be trickier to replace. You might be able to get by without the pin and edge guide, but you absolutely have to have an attaching screw. The instruction booklet may also be missing but pdf copies are available from several online sources. So there you have it, the vintage answer to fraying edges. Are you tickled pink now? (Couldn't resist that one.) Happy Sewing! Barbara OldSewinGear...dedicated to helping you get the most out of your old sewing gear.
|
News, Reviews,
|


 RSS Feed