OldSewinGear
  • Blog
    • Blog Index
    • Site Map
  • Singer
    • Slant Needle >
      • 301
      • 401 / 403 / 404
      • 500 / 503
      • 601 / 603 /604
    • Class 15 Machines
    • Class 66 Machines
    • Featherweight
    • Swing Needle
    • Toy Machines
    • Accessories >
      • Buttonholer
      • Discs & Cams
  • Others
    • Pfaff
    • Elna
    • Necchi
    • Japan Class 15
  • Resources
    • FAQ
    • Links
    • Cheat Sheets
    • Shipping & Packaging
  • Contact
    • About Us

Ruffles Have Ridges

3/31/2018

9 Comments

 
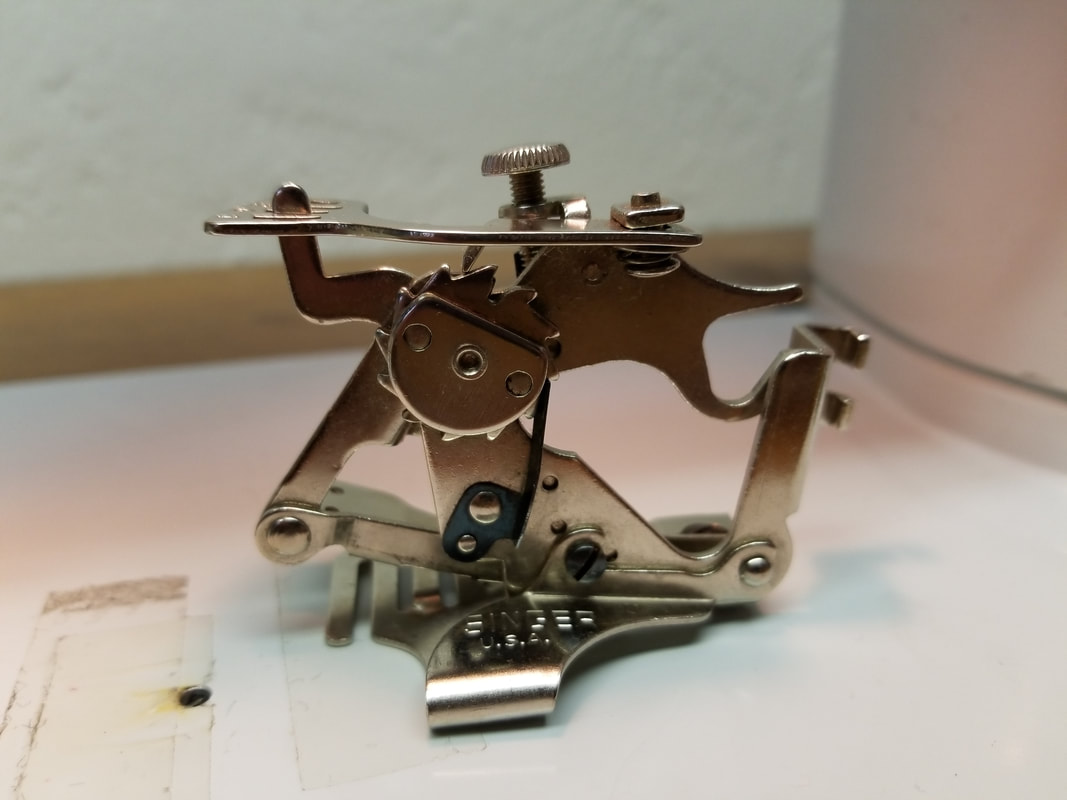
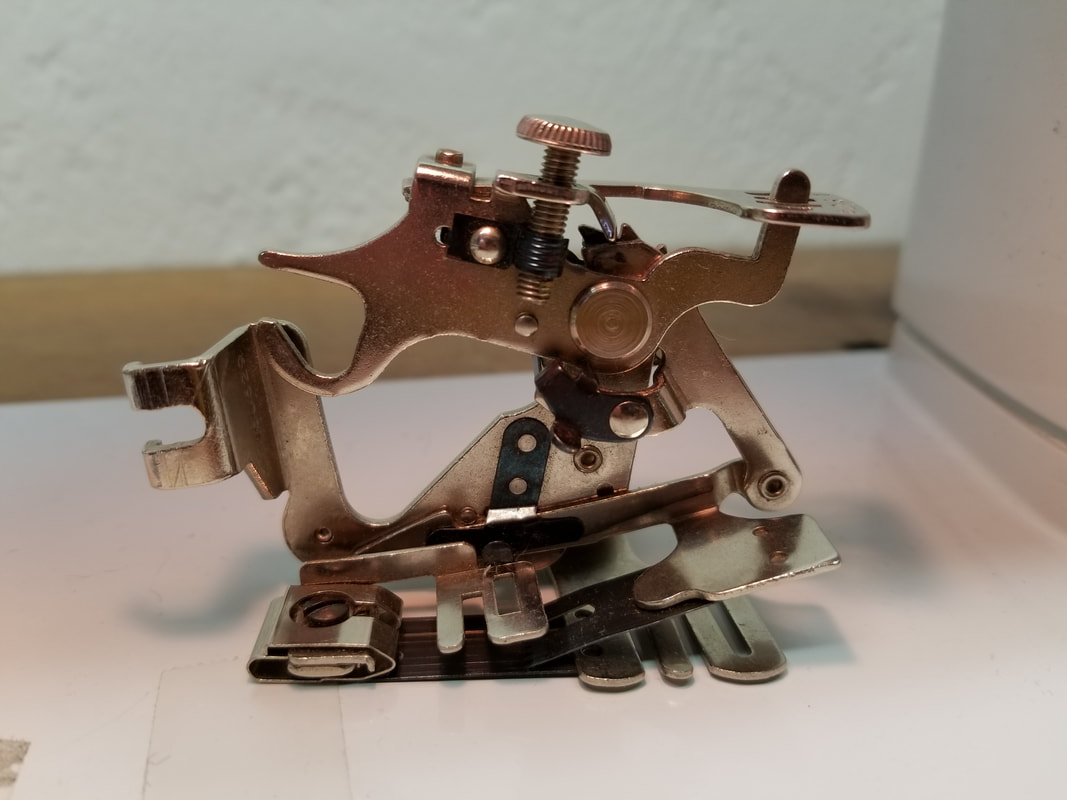
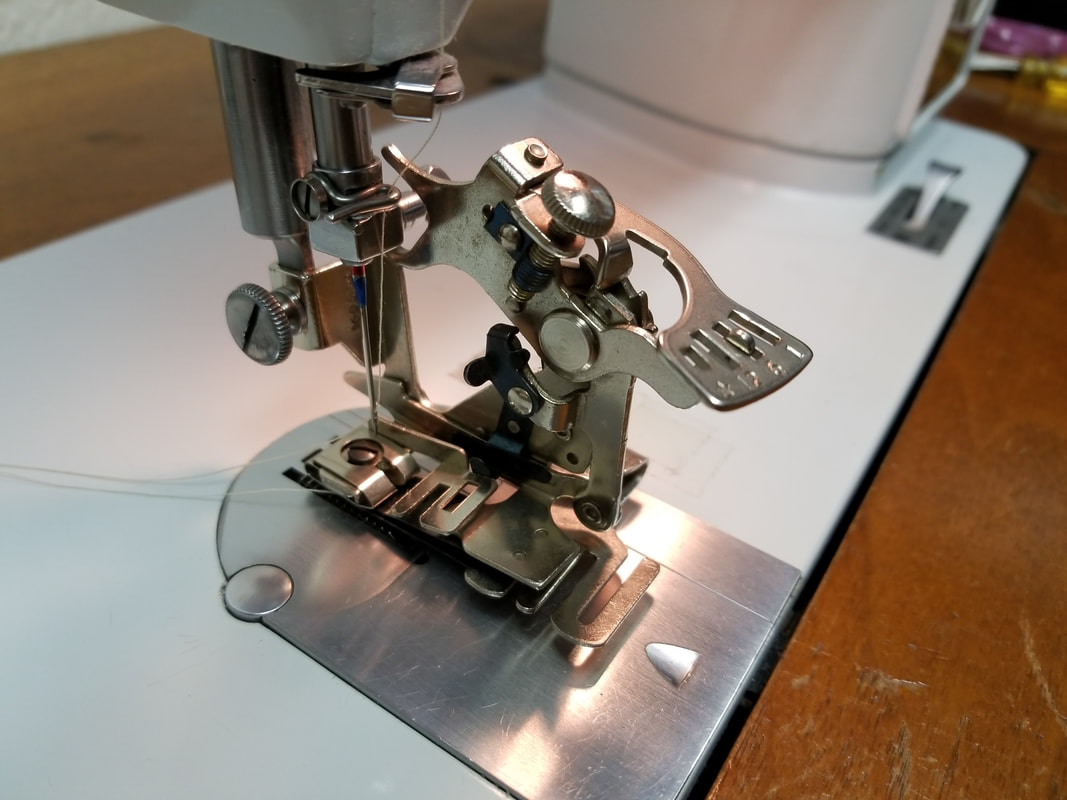
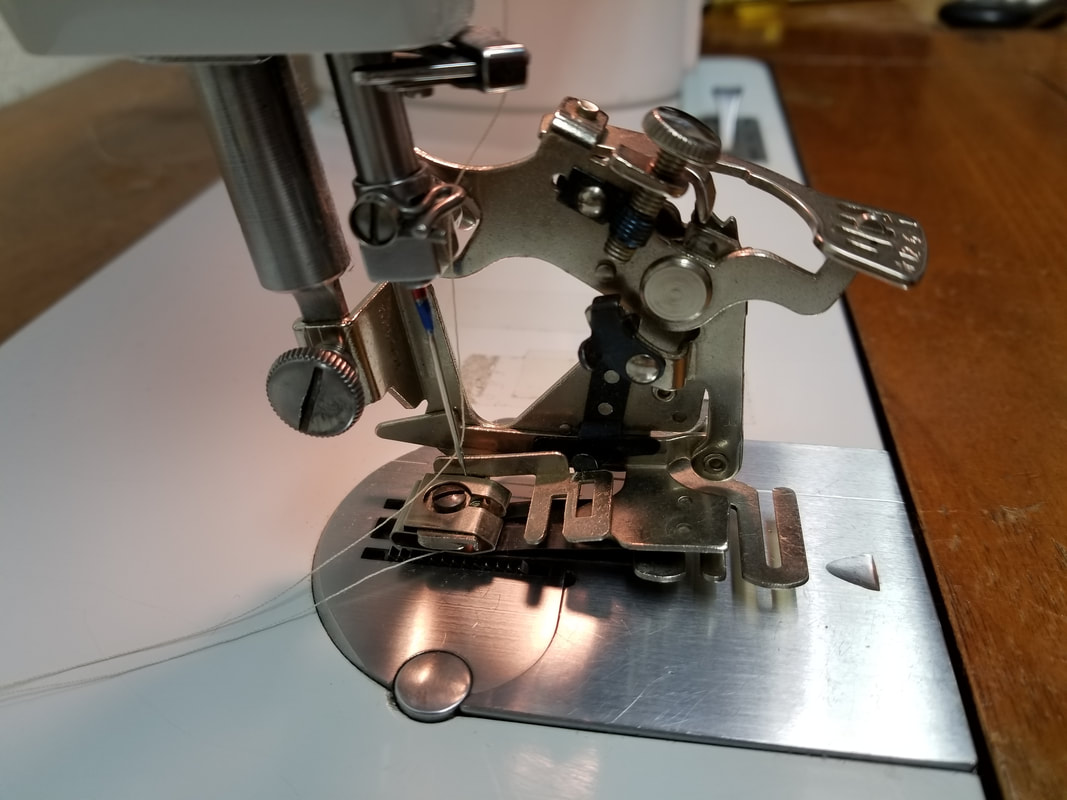
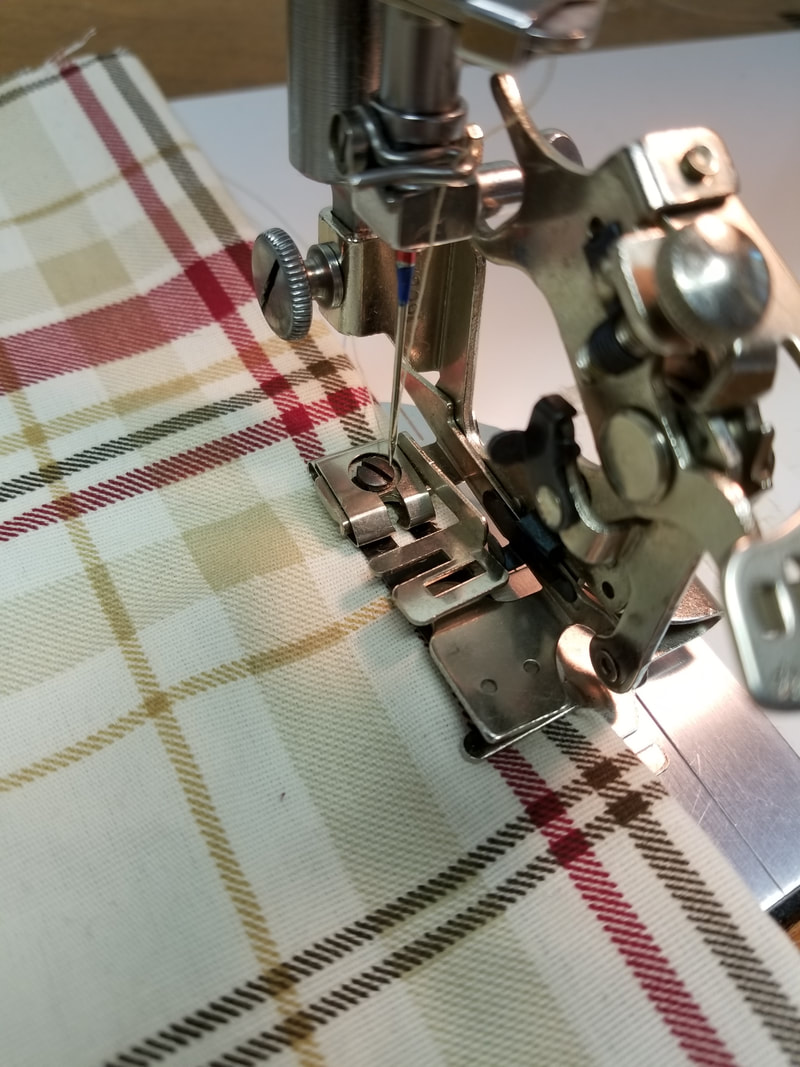
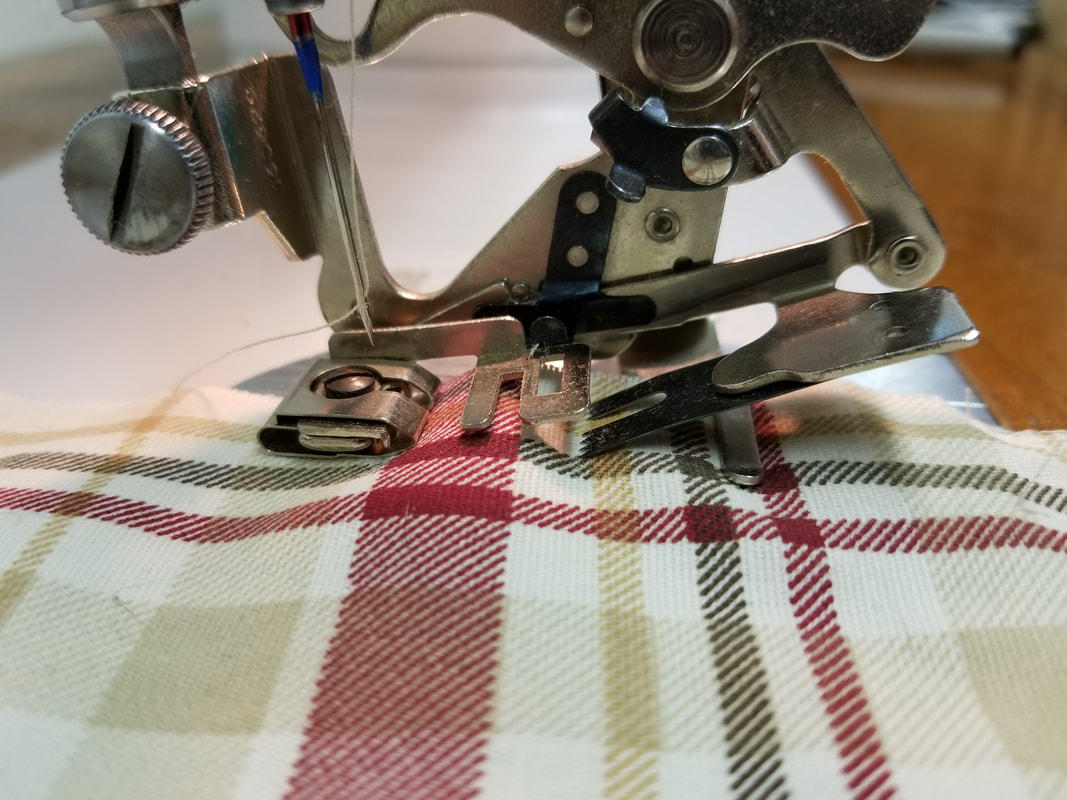
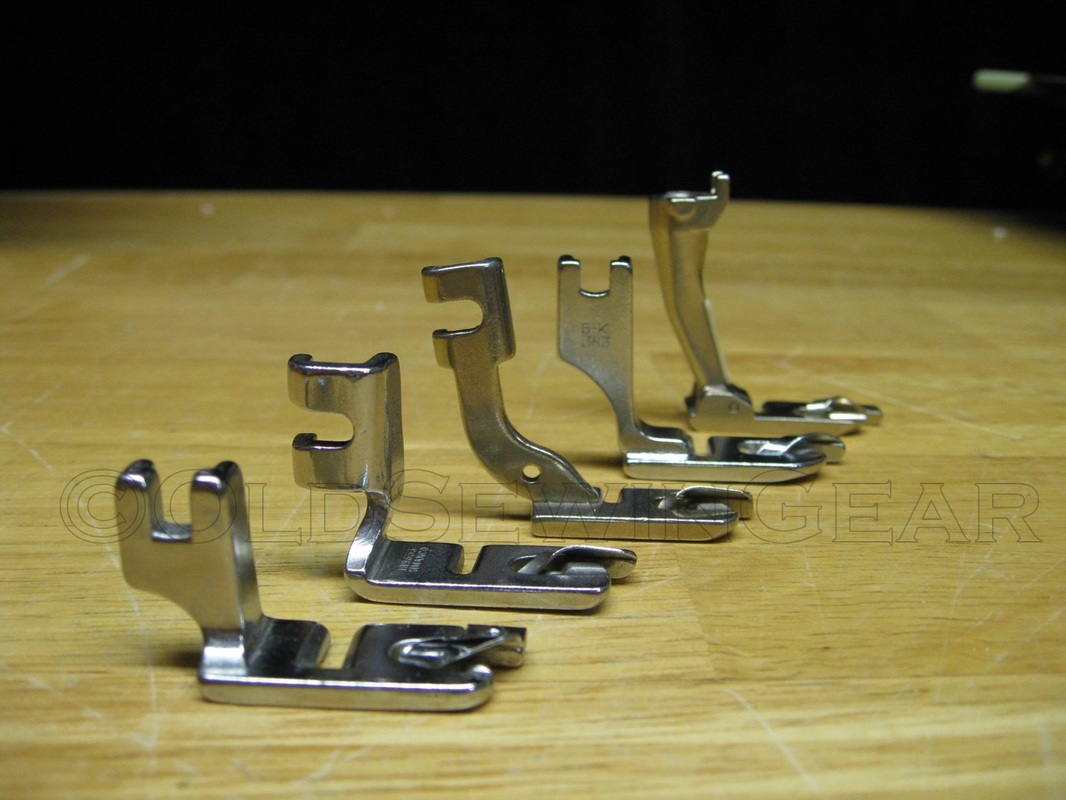
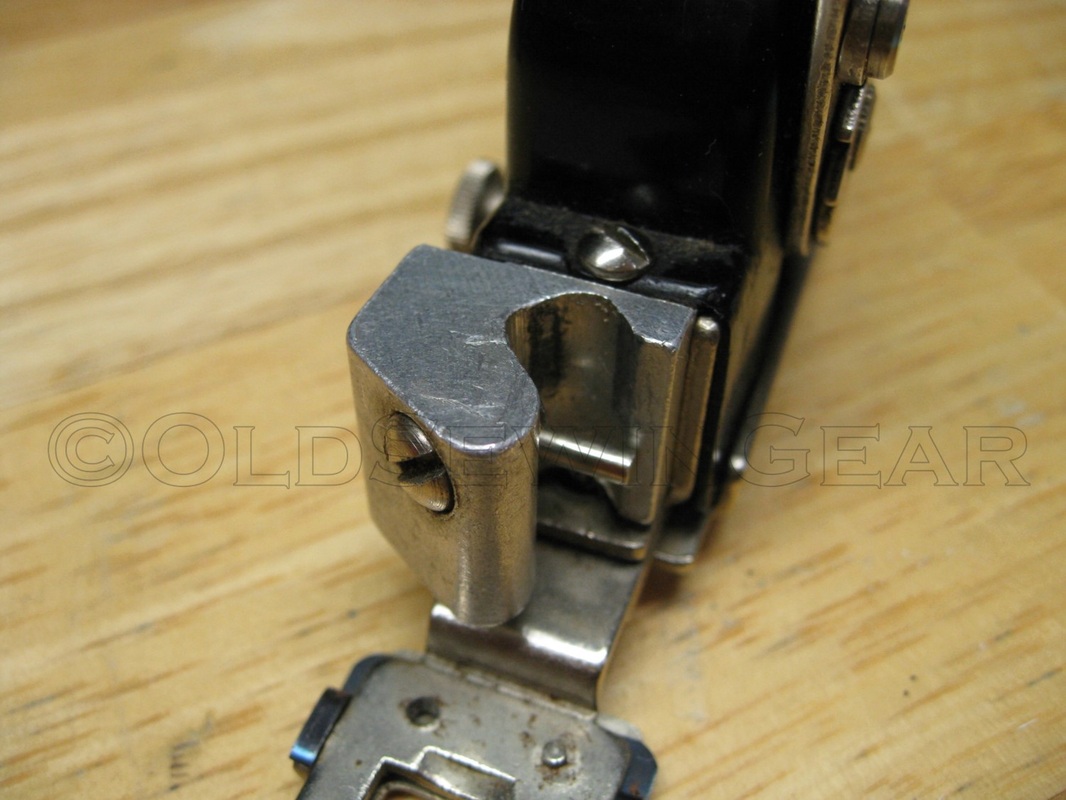
I'm finally back in the sewing room and my latest project calls for long decorative ruffled strips.   How tedious...sigh...

Hold on, didn't Singer make an attachment for that?

​I'm embarrassed to admit that after all these years of loving, refurbishing, and selling these machine I never actually took the time to learn how to use the ruffler.   Time to correct that omission.  So today I pulled out my sewing machine manual and learned something new.  

And let me tell you, the ruffler is a pretty nifty little gadget.  As always, I am amazed at how Greist and Singer found ways to make repetitive sewing tasks simple, precise, and fast.  

​Here's what it looks like:  
So now we've seen it, but how does it work?   
I could try to describe it, but it's so much better to see it in action. 
 

So there you have it - how to use a ruffler.  I'm honestly shocked that I never tried it before.  It's actually very easy to use and the results are beautiful.  

Why not give it a try!    


Happy Sewing!
Barbara


​OldSewinGear...dedicated to helping you get the most out of your old sewing gear.  
9 Comments

Rock-a-bye Baby: Singer 301 Cabinet Cradle

10/26/2014

16 Comments

 
PictureSinger 301 Slant Needle Sewing Machine
So you're the proud owner of a Singer 301 Slant Needle "Featherweight" and you've decided you want to install it in a cabinet.  

So you turn the machine around...

PictureSinger 301 rear view.
Uh-oh, something is missing.  

The good news is your eyes are not playing tricks on you.   


The bad news is that unlike every other full-size vintage Singer, the 301 does not have the holes for mounting cabinet hinges.  

So, now what?


Relax.  There IS a solution, and I'll get to it in a moment.  

But first, a quick history lesson:  

Picture301 has no hinge mounts.
Like the 221 Featherweight, the 301 was designed to be a light-weight portable machine.


The full-size 301 weighed only 16 pounds, had a built--in carry handle and came in a convenient carrying case.

To complement the perfect portable machine, Singer designed some brilliant cabinet options.  

One option was a lightweight folding card-table with built-in support  brackets.  Space-saving and simple for a small house or apartment.  

But Singer knew some customers would want to use their 301 in a full-size cabinet.  Which presented a bit of a problem. After all, anchoring the perfect portable into a cabinet with fixed hinges rather defeated the purpose of designing a portable in the first place!

PictureSinger 301 cabinet cradle (part # 170112)
So Singer devised a creative solution. 

First they offered the 301 in two configurations:  long-bed and short-bed.  

The long-bed version was intended for portable use only,  but could also be used in some card tables.  (Long-bed card tables are still out there, but they are hard to find.)   

The short bed version was paired with a clip-on bracket/cradle  (Simanco part # 170112, shown above) which mounted inside the cabinet using standard swivel hinges.  The machine clipped into the cradle, turning the perfect portable into the perfect cabinet machine.  But with the press of a lever the machine could be quickly removed for portable use.  

It's an odd-looking contraption, but the perfect complement to the "Full-Size Featherweight."   (NOTE:  Some Singer cabinets are not compatible with the 301 cradle because the front edge support brackets cannot be installed.  See photos and additional note at end of article.)  

So what does this look like?  First, let's take a look at how the cradle attaches to the machine and how the quick-release lever works:  

Next, we'll look at how to attach hinges:  
(Note:  hinges are shown being installed on a 401 but the installation process is identical for the 301 cradle.)
Finally, we'll take a look at how the machine with cradle mounts in the cabinet:
See "Hide and Seek - Singer Sewing Machine Cabinet" for video demonstration.  
Yep, it's that simple.  Keep in mind, however, that this only works if your 301 is a short-bed model.  If you have a long-bed 301 then you'll either have to modify the machine or the cabinet for it to fit.  Or you can keep your eyes open for a card table designed to fit the long-bed.  These are pretty rare, though.  

301 cabinet cradles are usually available on eBay.  Check your cabinet to see it if already has the front edge support brackets.  If not, you'll want to look for a cradle that includes them.  Check your machine to see if the hinge mounting set screws are already in place.  If not, you'll want to make sure set screws are included in when you purchase the cradle and/or hinges.  

There, problem solved, just as promised at the beginning of this article!

Happy Sewing!
Barbara
OldSewinGear...dedicated to helping you get the most out of your old sewing gear.  

See "Got Steel?  Singer 301--the Featherweight's Big Sister" for more information on the Singer 301 Slant Needle.  


See "Hide and Seek - Singer Sewing Machine Cabinet" for video of setting up and stowing away a sewing machine in a cabinet.  
Note:  The front edge support brackets require a flat surface on the inside edge of the front lift panel.  Some cabinets have a protruding lip which supports the front edge of the machine, which will not work with the 301 cradle.  Please review the above photos to see how the front edge support brackets attach to the cabinet and see below for examples of a cabinet that WILL NOT work with the cabinet cradle.  
Special thanks to readers David, Lisalu, and Ann for sharing experiences and research that led me to make significant revisions to this article in the interests of accuracy and clarity.  
16 Comments

Rocket-eer Surgery

6/8/2014

2 Comments

 
One of our readers asked how to reassemble the stitch-length adjustment knob on her 503 Rocketeer.  She took hers apart to clean it and then encountered a problem getting the pieces back together.  I didn't know the answer either, so I went and asked the resident expert.  He explained it to me and I went and tried it out for myself and took some pictures and videos to share.

Without further ado, here's how to reassemble the 500/503 stitch-length adjustment lever knob.   First we'll look at taking it apart and then we'll look at putting it back together.

Picture
The lever has a knurled knob on the end that tightens up against the face plate to select the desired stitch length. 

There are two wings on the lever that slot into the notches at the "fine" selection and the "6" selection to lock those settings into place. 

Picture
To disassemble the knob, use a standard screwdriver to remove the screw at the end of the shaft.  Then pull the whole knob assembly toward you.  It will slide off along with the small washer that sits on the end of the shaft between the screw and the knurled knob.

Picture
The winged piece screws up inside the knob and will have to be unscrewed for proper cleaning and lubricating. 

When you've finished disassembly the knob, you'll have four pieces as shown at left.  Next, a light application of lubricant on the inside the knob will aid in reassembly.  

Picture
Putting the knob back together can be a bit tricky because threading the winged piece back into the knob works opposite from the old "lefty-loosey, righty-tighty" principle. 

Start by holding the winged end in your left hand.  Then take the knob in your right hand and screw it onto the end of the winged piece, turning it toward you. This is best shown in video:
 

Next the winged end will be inserted into the slot on the lever and the washer and screw put back in place.  Again, this is best demonstrated in video:
As you can see, it only took a little bit of fumbling to get the pieces back together.  Believe me, it will be a lot easier if one hand isn't tied up holding a camera!

And there you have it.  Make sure everything is firmly tightened and your knob will be good as new. 

Happy Sewing!
Barbara

OldSewinGear...dedicated to helping you get the most out of your old sewing gear.

2 Comments

Shanks for the Memories

3/30/2014

5 Comments

 
PictureElna, Singer (2), Kenmore, & Bernina feet.
So you've picked up a vintage machine and you'd like to get some attachments for it.  You take a look on eBay or your local thrift store and you see a box of accessories descsribed as "low shank" or "slant shank" or something like that. 

And you realize you don't know which kind your machine takes!

Let's see if we can shed some light on the problem.


PictureWhite zigzagger attachment.
Different sewing machine manufacturers solved the issue of interchangeable presser feet in different ways.  The distance between the sewing platform and the attaching point on the presser foot bar varied widely and the method of attachment might be a screw or a clamp.  

White sewing machines had one of the more unique attaching designs, which involved a clasping wrap and locking pin. 

Over time, however, certain designs became standard and are referred to as low-shank, high-shank, slant-shank, etc.

So what does this look like?

As shown above, presser feet heights vary widely.  The attaching point on an Elna foot is 1/2" while the clamp attachment for Bernina feet is over an inch. 

The most common Singer styles are referred to as "low shank" and "slant shank."  Let's take a look at them side by side:

Low shank Singer
Slant shank Singer
PictureSinger low-shank and slant shank feet.
As you can see, the Singer low shank is short and vertical, and the slant shank is tall and slanted.

But what if your machine is a vertical needle?  Does that automatically mean that it's a low shank model? 

Not necessarily, because there are some differences between Singer's low-shank and the similar feet used by Pfaff, Elna, and Necchi.  And some Kenmore models use a taller "high-shank" foot. 

So how do you tell the difference?  Well, it helps if the foot is marked with the manufacturer name.  If it's short and vertical and says "Singer" then it's a no-brainer.  Otherwise, you'll need to measure from the sewing platform to where the screw attaches to be sure, as illustrated by the Singer and Elna feet shown here:

Singer low shank
Elna
PictureGreist buttonholer box with presser foot chart.
Singer's low shank is slightly taller.  The bottom of the screw slot sits at 5/8" while Elna's measures in at exactly 1/2".  

If you don't have a presser foot, you can measure this on the machine.  Drop the empty presser foot bar down and measure from the sewing platform to the bottom of the screw.  This will tell you which foot to use.  Using the wrong foot will result in too much or too little pressure on the fabric as you sew. 

One of the best quick-reference guides for presser feet can be found on the bottom of the Greist buttonholer box.

Because Greist manufactured buttonholers for many different machines, they made it simple to select the right one for your machine.  I like to keep one of these boxes handy for reference.   


So the next time you find a mystery attachment and wonder if it will fit your machine, take a close look at how it attaches, how tall it is, and whether it is marked.  Genuine Singer feet will have a Singer or Simanco part number stamped on them. 

Happy Sewing!

Barbara

OldSewinGear...dedicated to helping you get the most our of your old sewing gear.


5 Comments

Lever Alone...the wandering stitch-length selector

2/2/2014

9 Comments

 
So you're sewing along on your 401A, minding your own business, and then out of the corner of your eye you notice something strange...

The stitch length selector is moving upwards.  


All by itself.  


And your stitches are getting shorter and shorter, and shorter... 

Uh-oh, your sewing machine is POSSESSED!

Actually, no.  There is a simple explanation and a simple fix.  

Simply put, there's a nut inside the end of the machine beneath the hand-wheel and if it isn't tight enough then the stitch-length lever will "wander" as you sew.  This is especially true if you're sewing heavy duty fabrics.  The additional load on the machine causes the lever to wander.  
The very early 401A's are particularly prone to this complaint.  In fact, this issue prompted Singer to make a design modification early in the production run. It's a little thing but instantly noticeable when you look at an early model and a later model side by side:  
Picture
401A - Serial Number 652703
Picture
401A - Serial Number 706946
The stitch-length selector plate on the earlier machine is completely flat at the bottom, while the later machine has a notch at the longest stitch length.  This indentation allows you to "lock" in the stitch lever at the longest stitch length.  Which means that the lever cannot move when set at the longest stitch.  Great for sewing heavy fabrics.  

So what if you have one of the machines with the flat plate?  Or what if your lever wanders when set at a shorter stitch length?   What can you do about it?

The adjustment is simple, but first the hand-wheel must be removed.  You'll need a medium-size flat screwdriver and 9/16" socket wrench or large screwdriver:  
Use the medium-size screwdriver to remove the small screw in the center of the hand-wheel.  

Next remove the chrome center section of the hand-wheel by unscrewing it in a counter-clockwise motion until it comes off.  

Slide the washer off of the center post.  Then grasp the hand-wheel in both hands and pull toward you.  Look for the recessed hexagonal nut directly beneath the hand-wheel location.  

Tighten the nut using the large screwdriver or socket wrench. (The socket wrench provides more leverage and makes for an easier adjustment, but take care not to apply too much force as you can break the head off the nut.)  Usually 1/8th of a turn to the right (clockwise) is sufficient to tighten the lever action, but it may take as much as 1/4 of a turn.  Raise and lower the stitch-length lever to be sure.  You should feel an increase in resistance in the lever as the nut is tightened.  

Reverse the steps to replace the hand-wheel.  

There, you're done!   

Amazing how a simple adjustment can so greatly impact the operation of your machine!

Happy Sewing!
Barbara


OldSewinGear...dedicated to helping you get the most out of your old sewing gear.  

9 Comments
<<Previous

    News, Reviews, 
    & How-To's

    See "Article Index" for list of past articles by title. 

    See "Frequently Asked Questions" for quick answers to common questions.  

    Check out "Cheat Sheets" to download printable reference sheets.

    See "Resources" for links to useful websites and forums. 

    Contact Us

    Questions, comments
    ​or suggestions? 
    Contact us!  

    Categories

    All
    15-125
    15 91
    192 Spartan
    201
    221 Featherweight
    301
    328
    401
    403
    411
    500
    503
    600
    603
    626
    99
    Adjustment/repair
    Appraisal & Pricing
    Attachments
    Bobbin
    Centennial
    Checklist
    Dating
    Greist
    Historical Info
    How To
    Japanese
    Miscellaneous
    Model Comparisons
    Reviews
    Shipping
    Singer
    Slant Needle
    Tips & Tricks
    Toyota
    Toys
    Treadle
    Video


    Archives

    June 2020
    April 2020
    August 2019
    March 2018
    October 2015
    August 2015
    March 2015
    January 2015
    December 2014
    November 2014
    October 2014
    August 2014
    June 2014
    March 2014
    February 2014
    December 2013
    November 2013
    September 2013
    August 2013
    July 2013
    June 2013
    May 2013
    April 2013
    March 2013
    February 2013
    December 2012
    November 2012
    October 2012
    September 2012
    August 2012
    June 2012


    About Us

    OldSewinGear is the collaborative effort of retired repairman Gary and daughter Barbara.  We love old sewing gear and enjoy sharing what we've learned in our vintage sewing machine adventures.  We are located in Roseburg, Oregon. 


    RSS Feed

© 2019 OldSewinGear
  • Blog
    • Blog Index
    • Site Map
  • Singer
    • Slant Needle >
      • 301
      • 401 / 403 / 404
      • 500 / 503
      • 601 / 603 /604
    • Class 15 Machines
    • Class 66 Machines
    • Featherweight
    • Swing Needle
    • Toy Machines
    • Accessories >
      • Buttonholer
      • Discs & Cams
  • Others
    • Pfaff
    • Elna
    • Necchi
    • Japan Class 15
  • Resources
    • FAQ
    • Links
    • Cheat Sheets
    • Shipping & Packaging
  • Contact
    • About Us