OldSewinGear
  • Blog
    • Blog Index
    • Site Map
  • Singer
    • Slant Needle >
      • 301
      • 401 / 403 / 404
      • 500 / 503
      • 601 / 603 /604
    • Class 15 Machines
    • Class 66 Machines
    • Featherweight
    • Swing Needle
    • Toy Machines
    • Accessories >
      • Buttonholer
      • Discs & Cams
  • Others
    • Pfaff
    • Elna
    • Necchi
    • Japan Class 15
  • Resources
    • FAQ
    • Links
    • Cheat Sheets
    • Shipping & Packaging
  • Contact
    • About Us

Hemmed in - SINGER HEMSTITCHER

4/17/2020

9 Comments

 
Picture
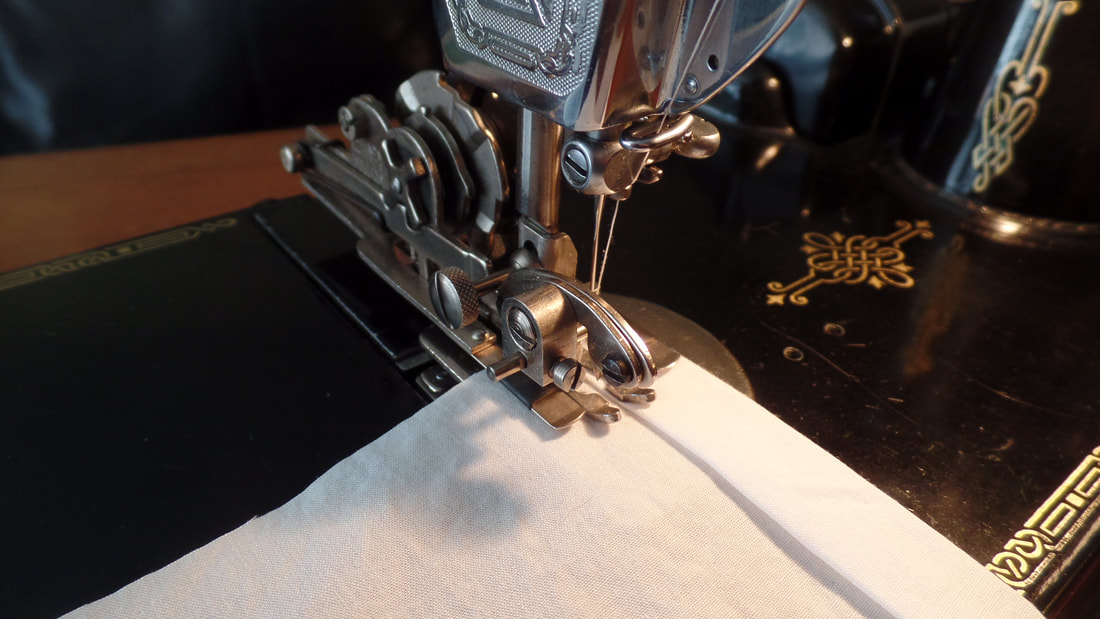
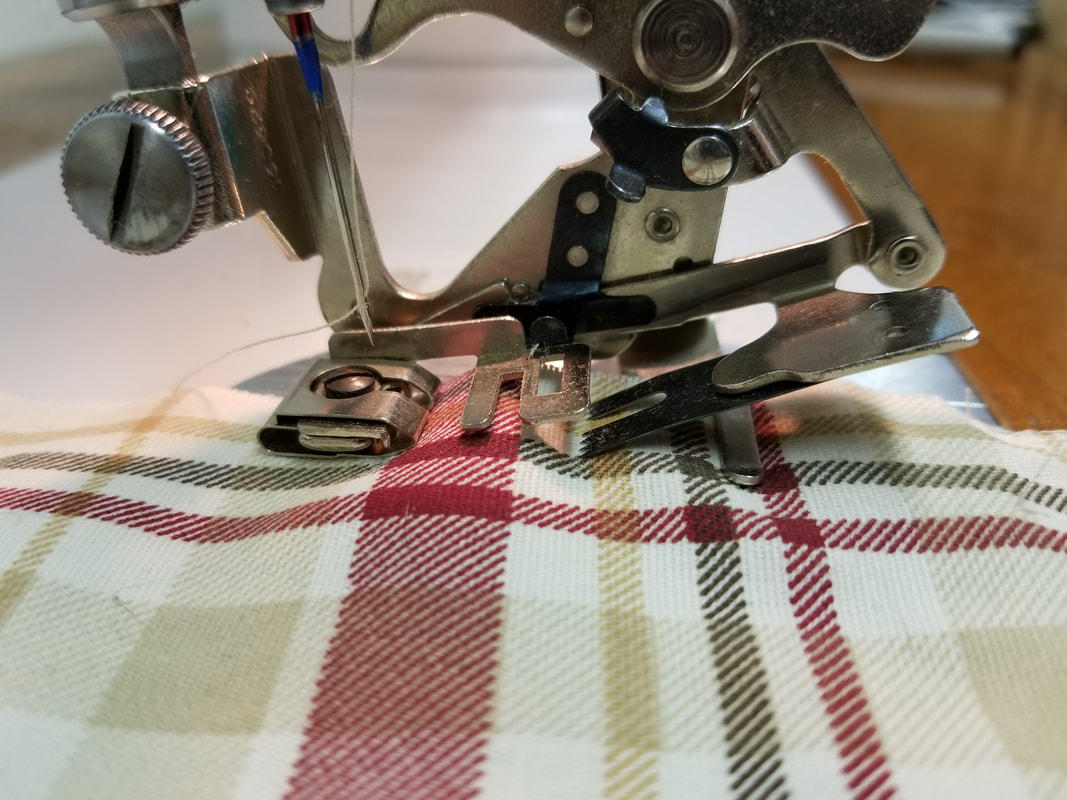
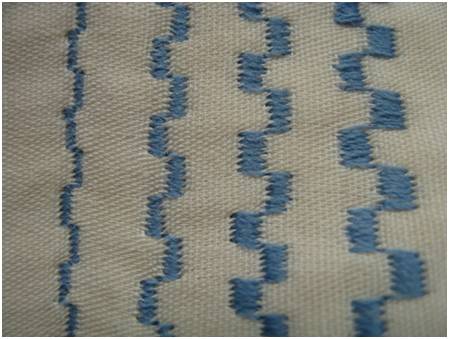
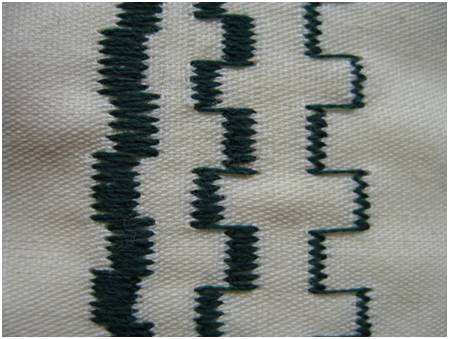
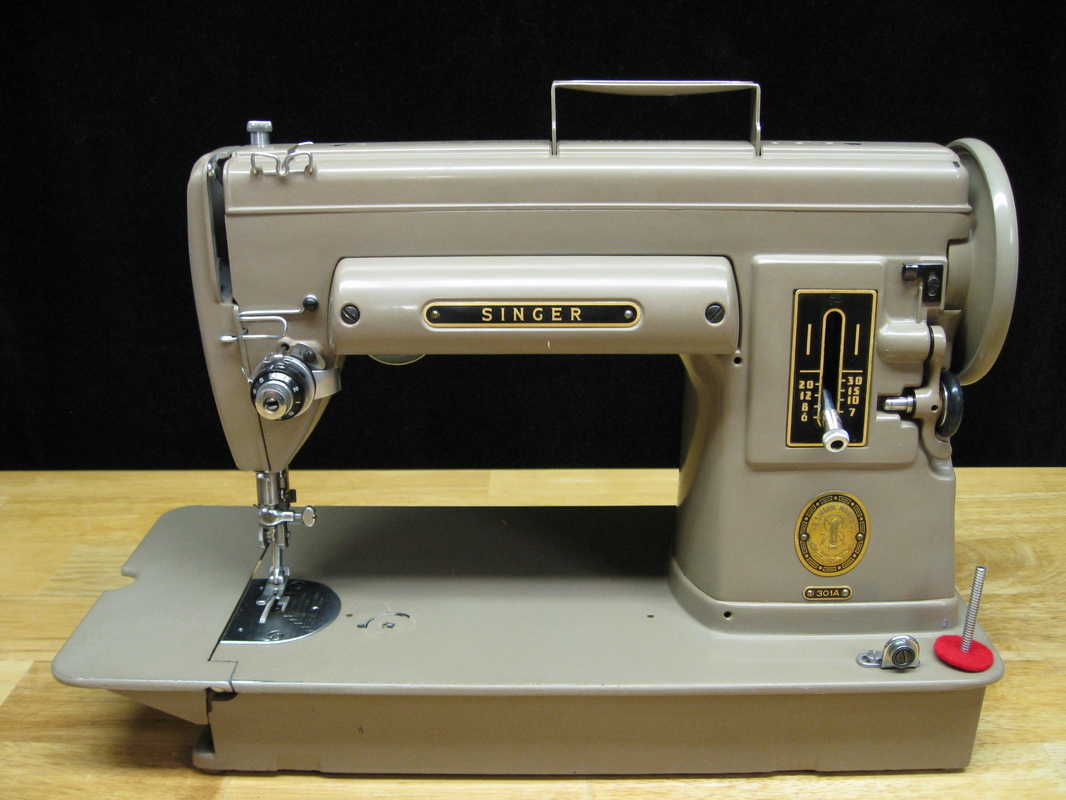
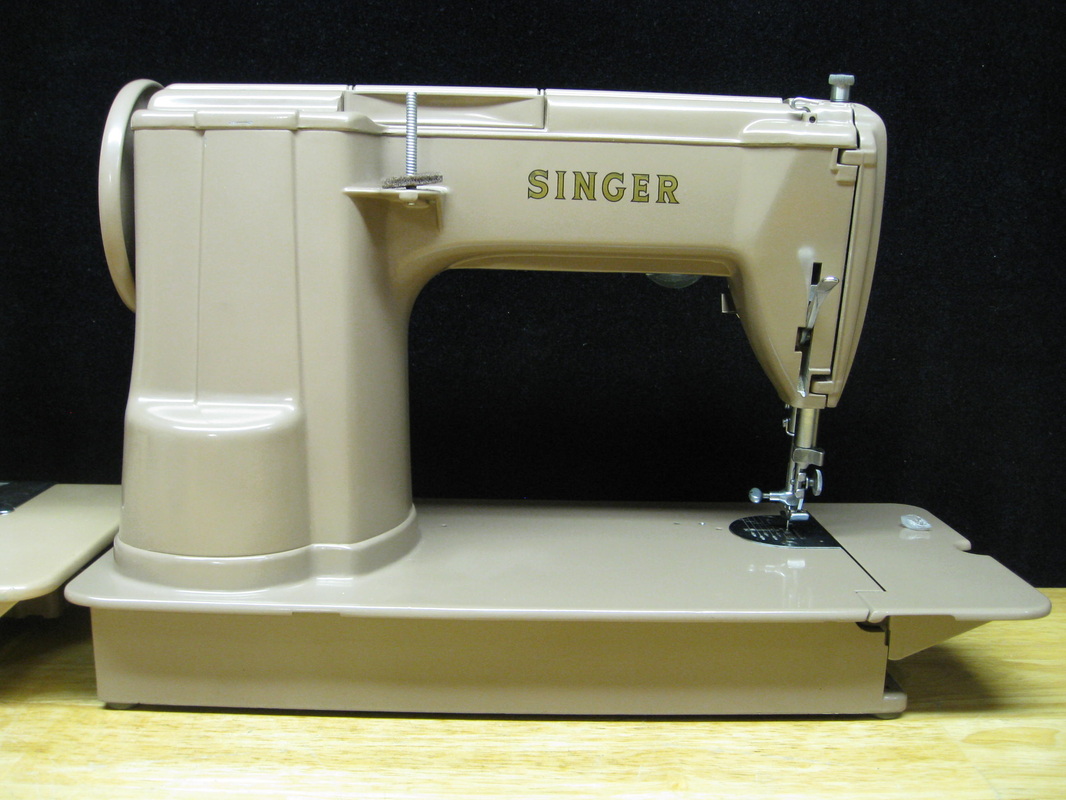
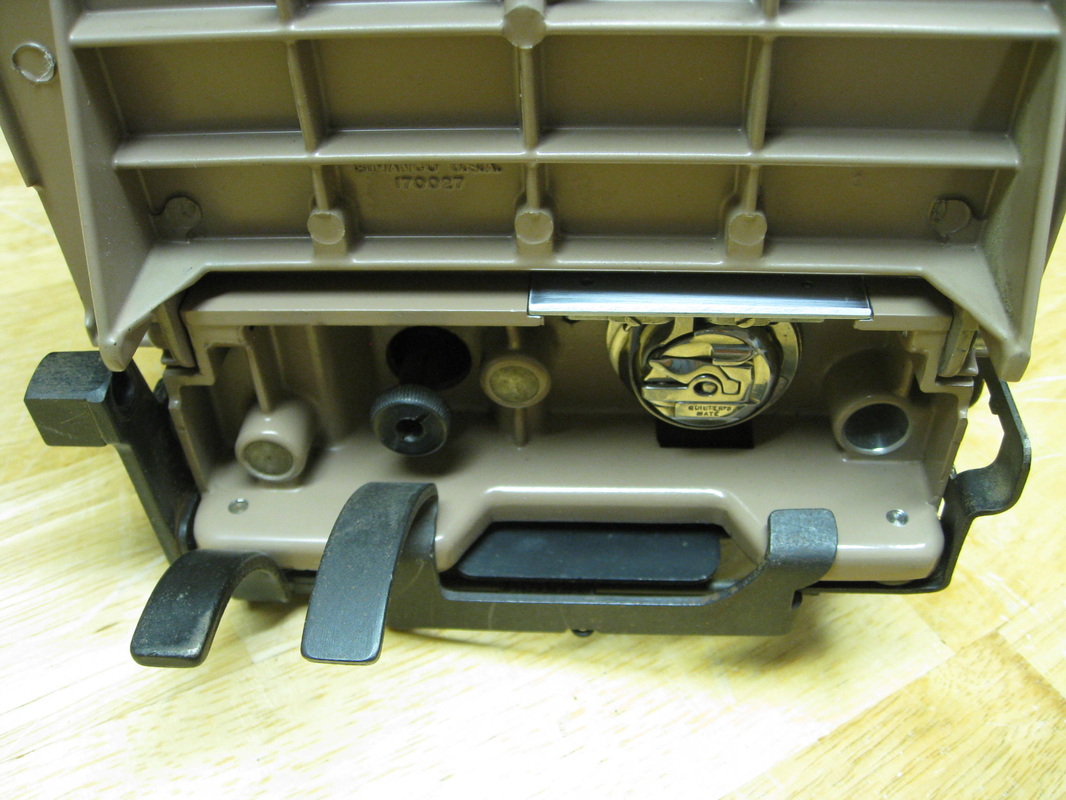
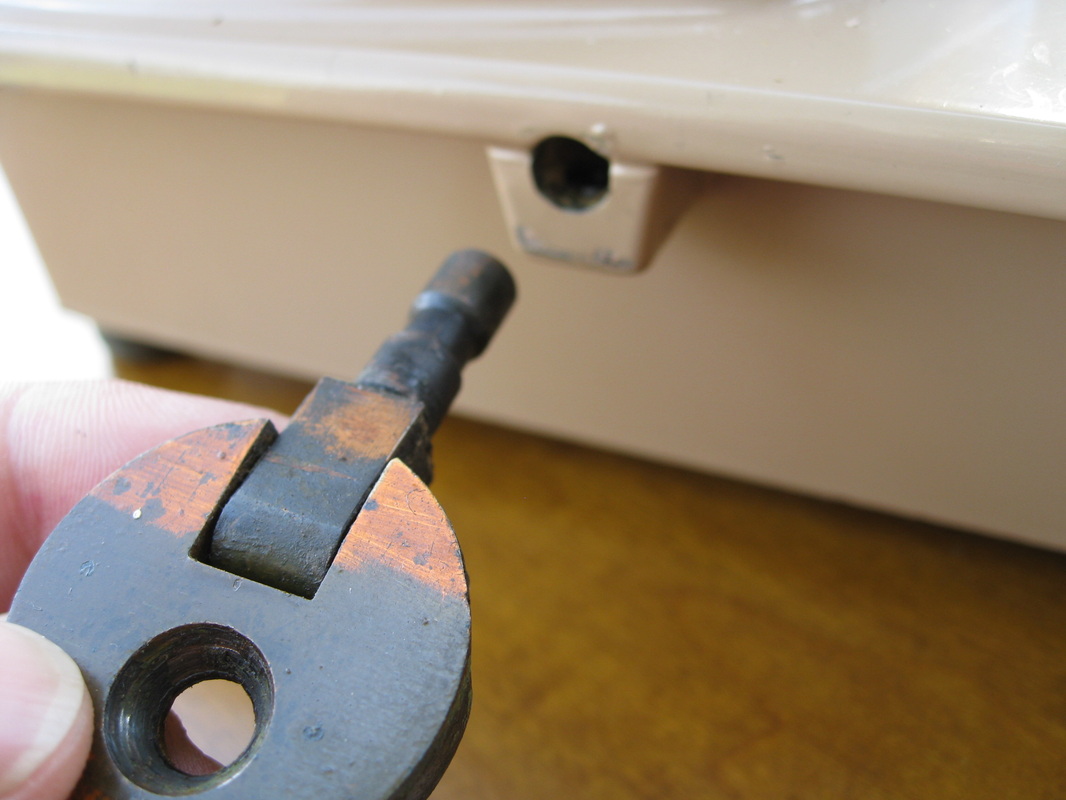
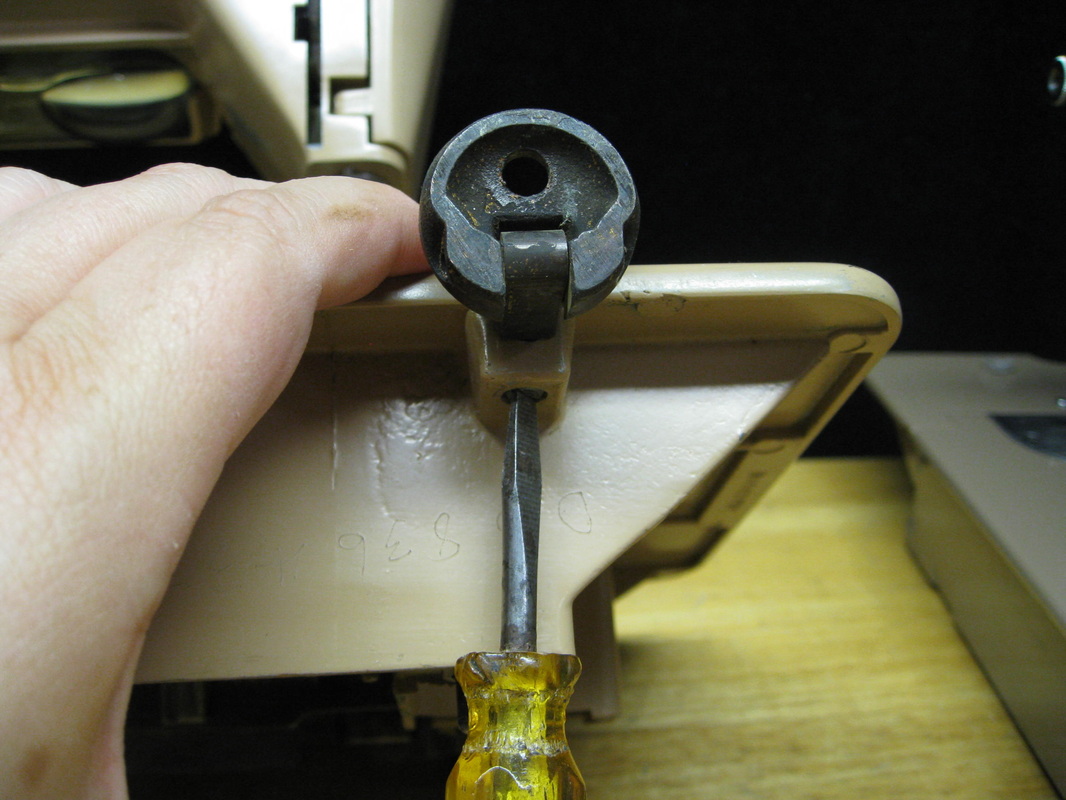
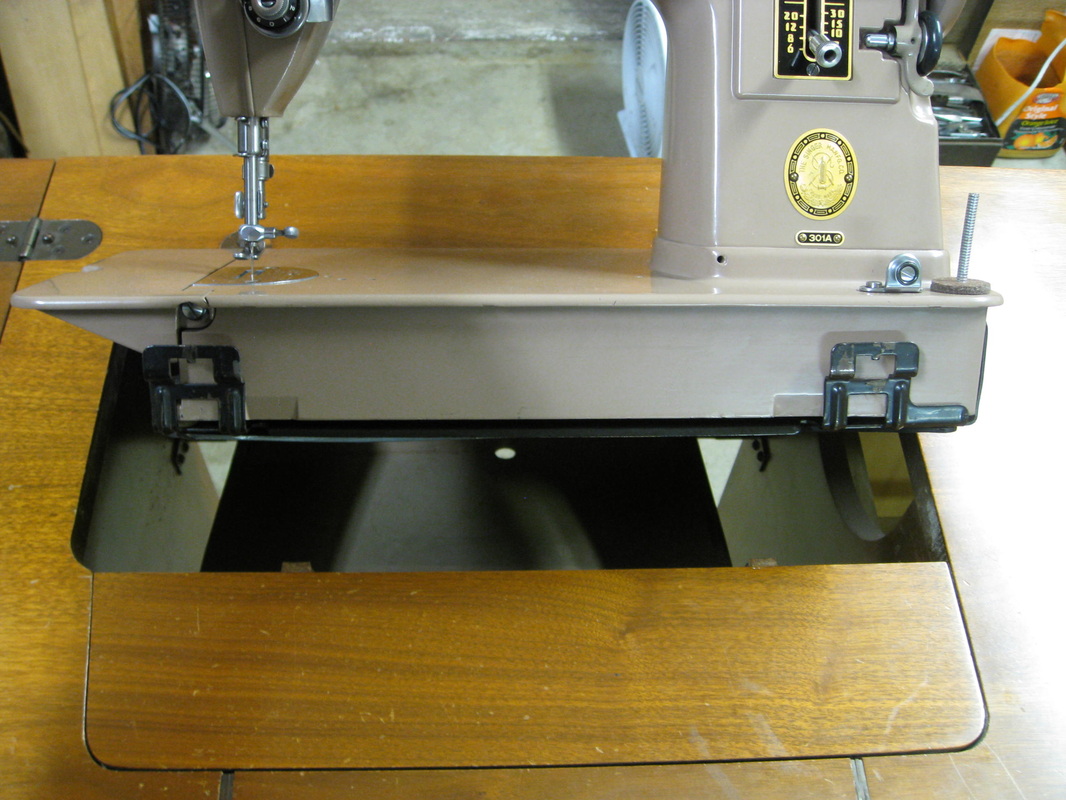
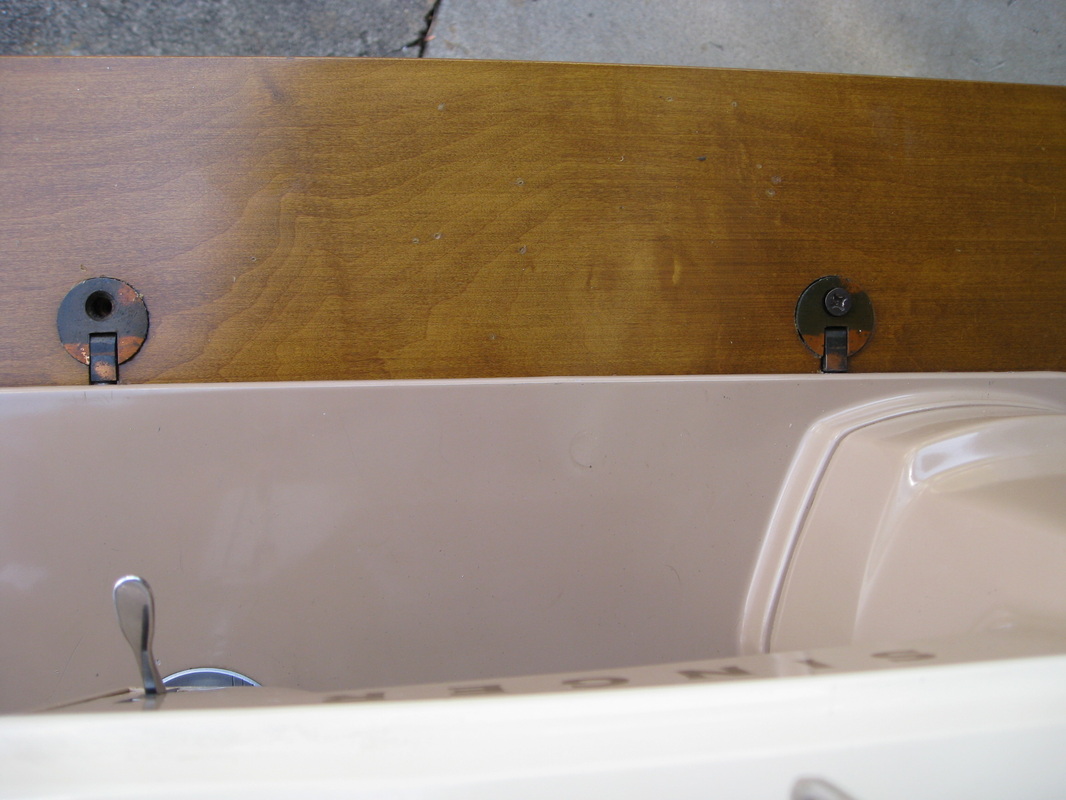
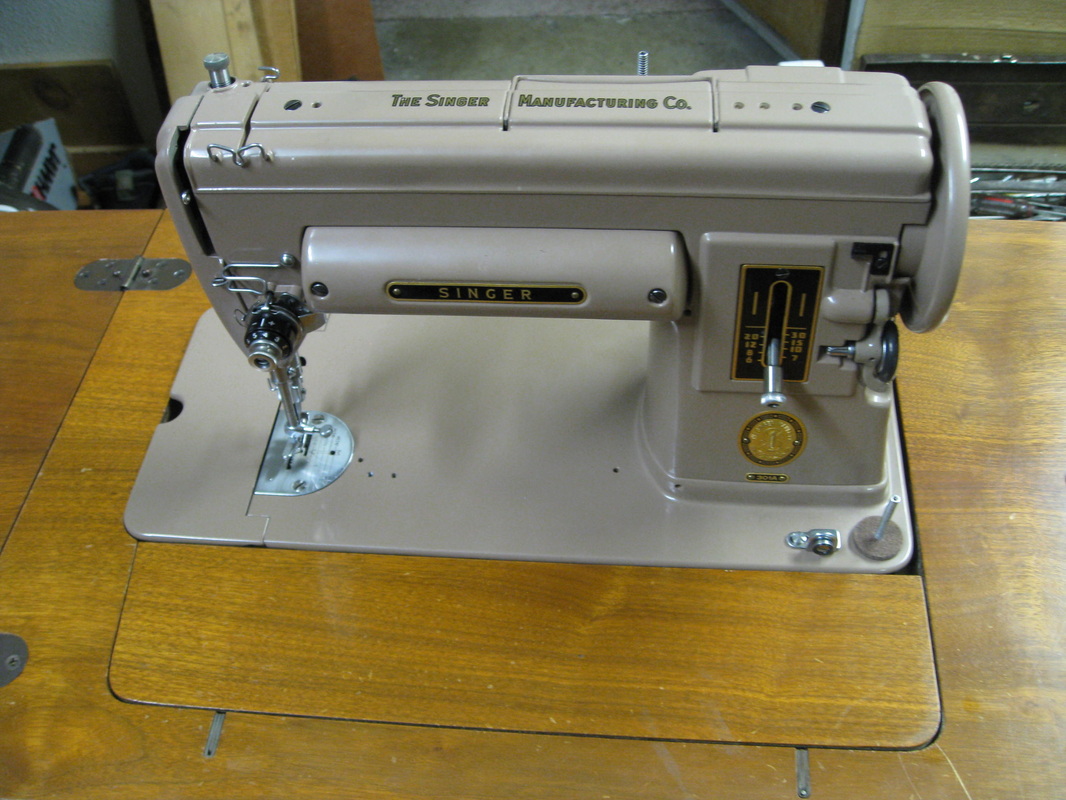
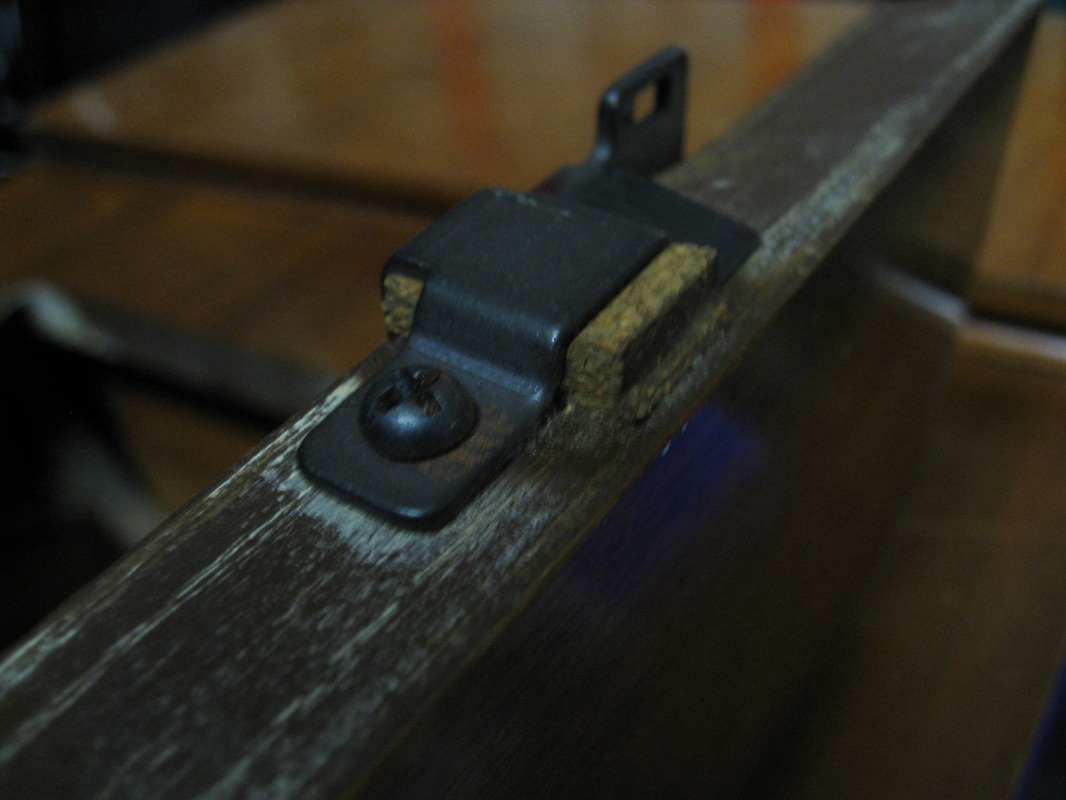
Singer Hemstitcher and Picot Edger attachment
Ahem...must confess I've never used a hemstitcher until now.   Time to rectify that little oversight.  So what exactly does a hemstitcher do?   Well, according to the box it "does real hemstitching."  

Hemstitching is a decorative sewing technique for embellishing the hem of linens, handkerchiefs, or garments.   It is often used in combination with drawn-thread work to create intricate designs.   

In the decades before zig-zag sewing machines revolutionized the industry, Singer offered a wide variety of attachments to add versatility and creativity to straight-stitch machines.   Hemstitching and picot-edging were introduced in 1934 and were a must-have accessory for the home sewing enthusiast. 

So how does it work?  Let's take a look...   

Picture
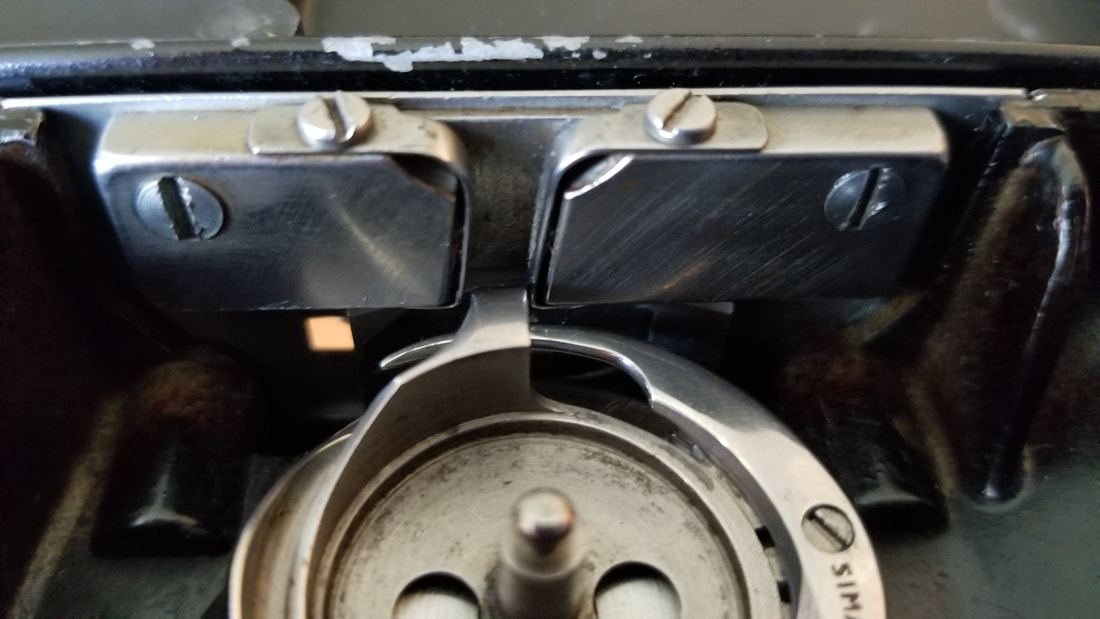
Bobbin case base positioning finger aligned with special throat plate.
I'll be honest here.  I've experimented with a lot of vintage machines and accessories and this one nearly had me stumped.  Bottom line?   You're going to need the instruction manual AND be prepared to do a lot of experimenting to get the top and bottom tension exactly right.  If you don't have everything just right you'll have intermittent dropped stitches that make for a really mess.  

After quite a bit of trial and error here are my key lessons learned:
  1. Throat plate.  Singer sold the hemstitcher with special needle plates (aka throat plates) to elevate the work above the feed-dogs and hold the work firmly in place.  So you'll have to make sure that the needle plate matches your machine.  I got lucky with a recent thrift store find because it came with a Featherweight needle plate (Part Number 121392).   If you have a different machine, check out page 20 of the instruction manual for throat plate part numbers.  
  2. Bobbin case.  Make sure the positioning finger of the bobbin case compartment is lined up with gap in the underside of the throat plate.   If not, you'll have a snarled up mess. 
  3. Needle.  Of course you'll need a brand-new, sharp point needle inserted with flat side to the left.   Basic, but we've all been there.   
  4. Top tension.   You'll want set top tension on the heavy side.   I landed somewhere between 6 and 7 for best results. 
  5. Feed regulator.  Set it to neutral - so the machine does not sew forward or backward.   This isn't intuitive because throat plate already lifts the work clear of the feed-dogs.  But I found that feed-dog motion of any kind resulted in dropped stitches. 

Picture
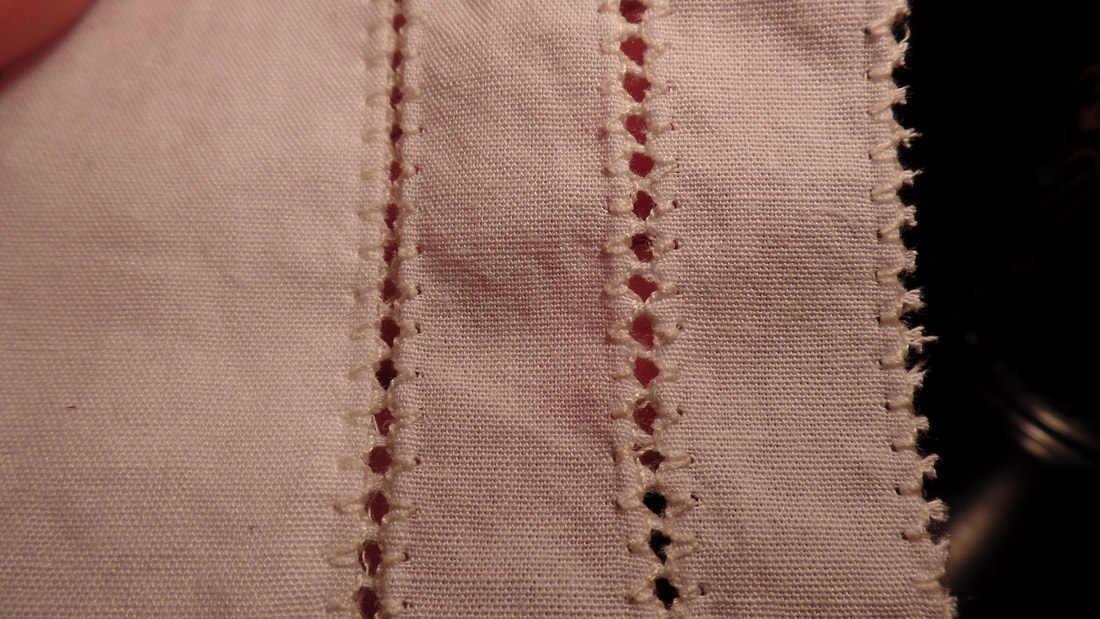
Finished hemstitching and picot edging.
There are additional adjustments for needle position and stitch width described in the instruction booklet, but I was able to achieve good results without changing those. 

​And the results are well worth worth the effort if you're looking for a unique finish for garments or linens.  


So if you've got ​one of these nifty gadgets lurking in your sewing drawer, why not give it a try? 

Happy Sewing!
Barbara

OldSewinGear...dedicated to helping you get the most out of your old sewing gear.   

9 Comments

Ruffles Have Ridges

3/31/2018

9 Comments

 
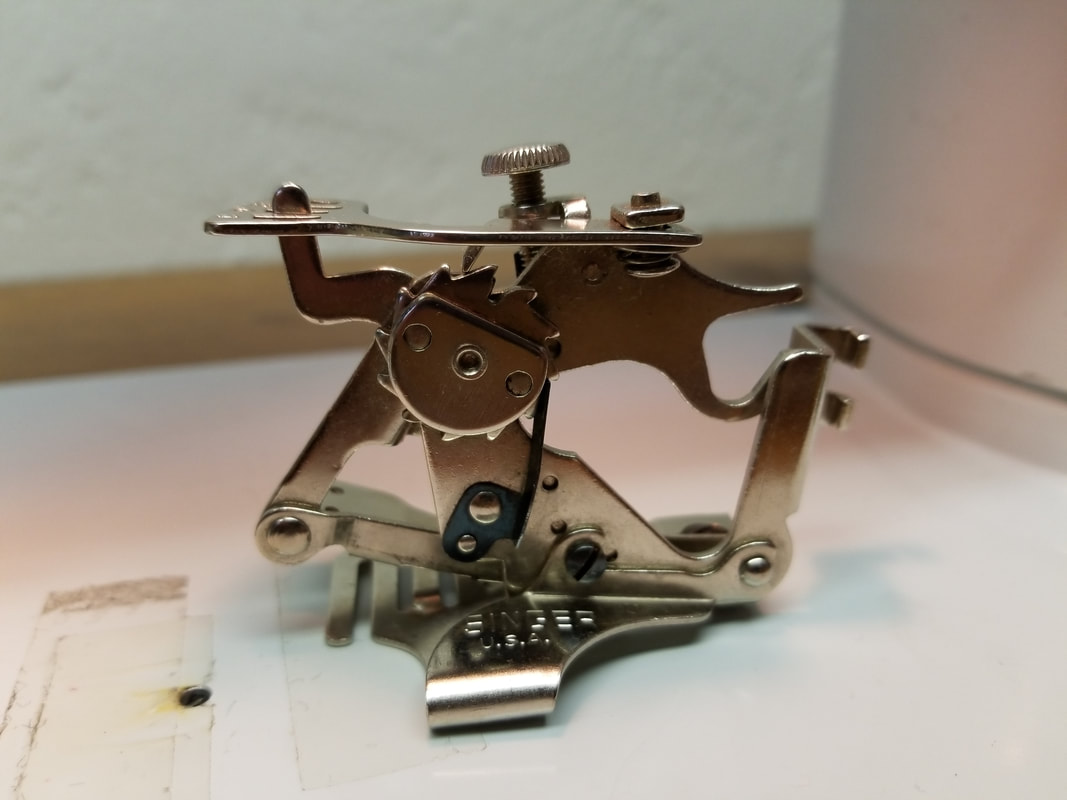
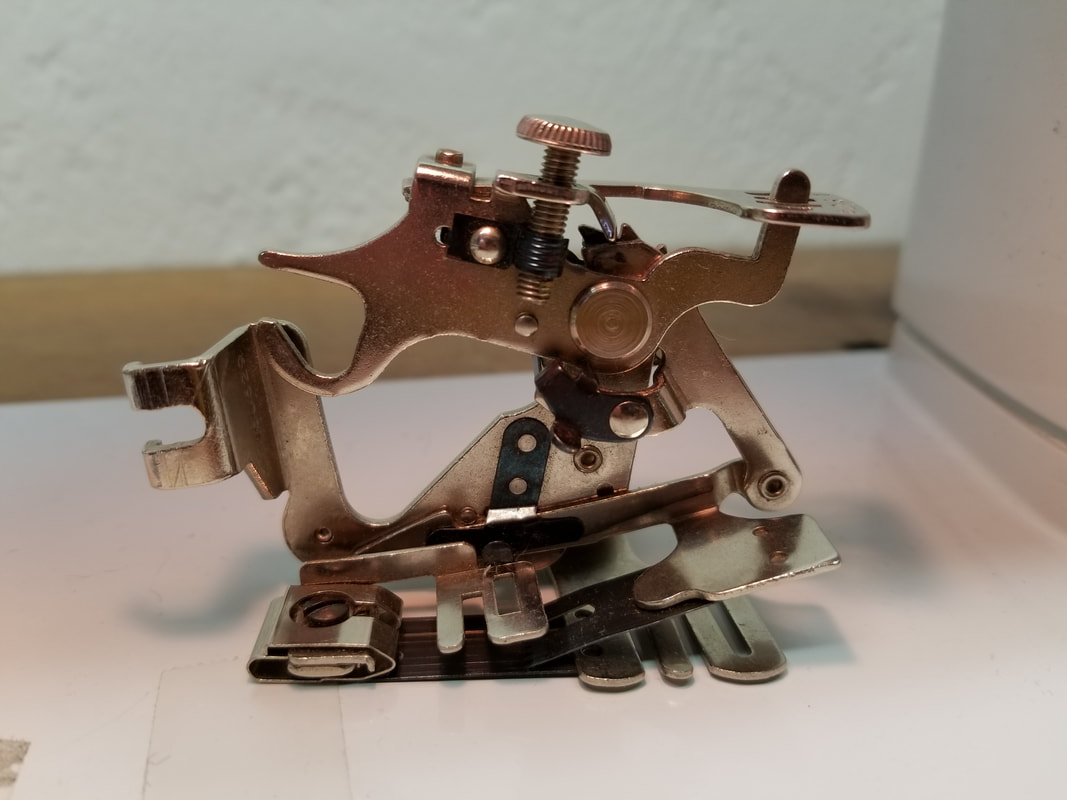
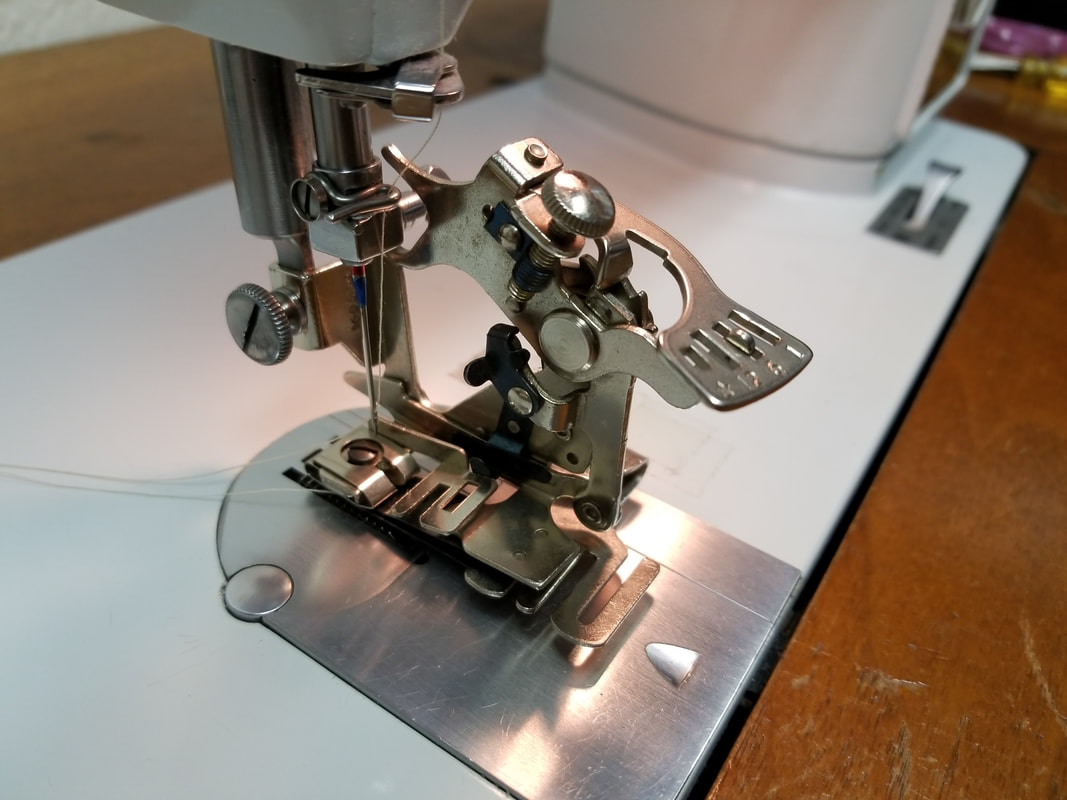
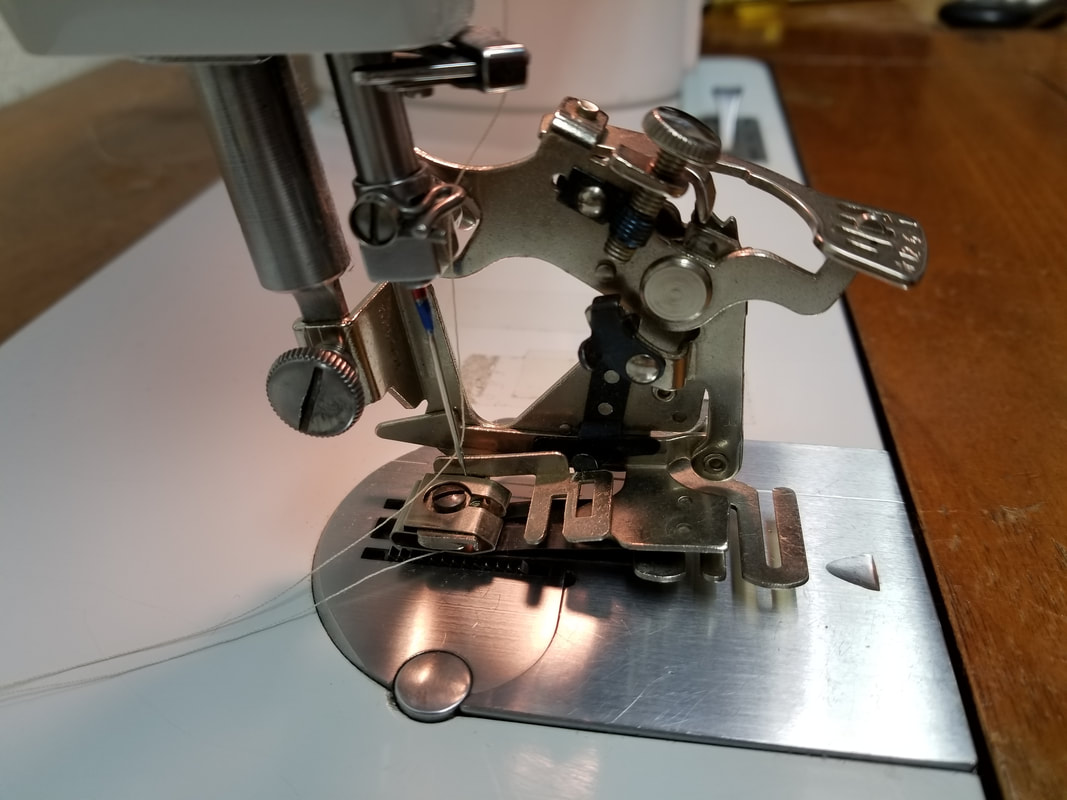
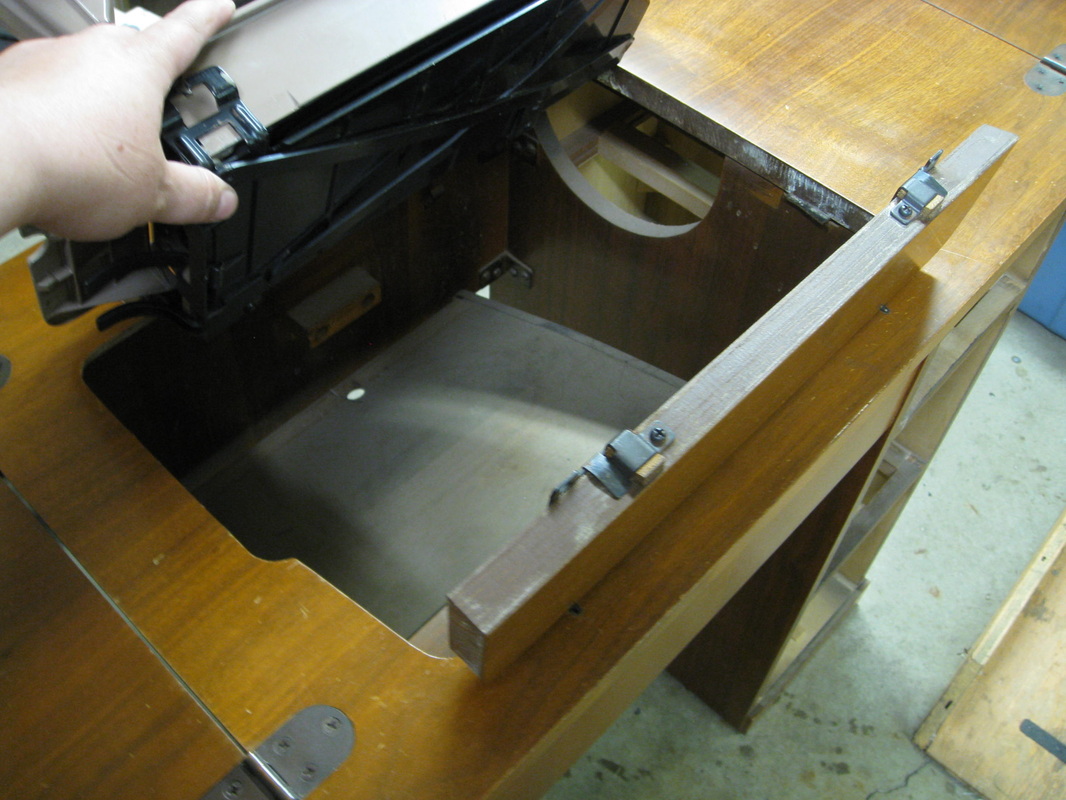
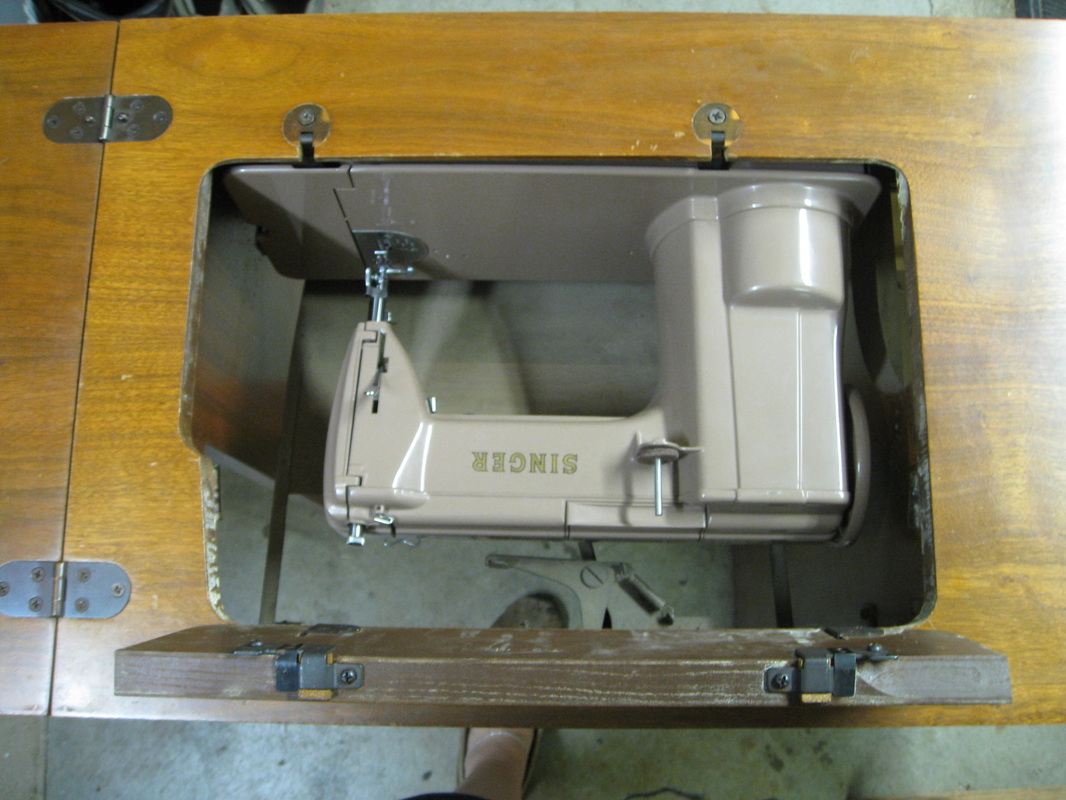
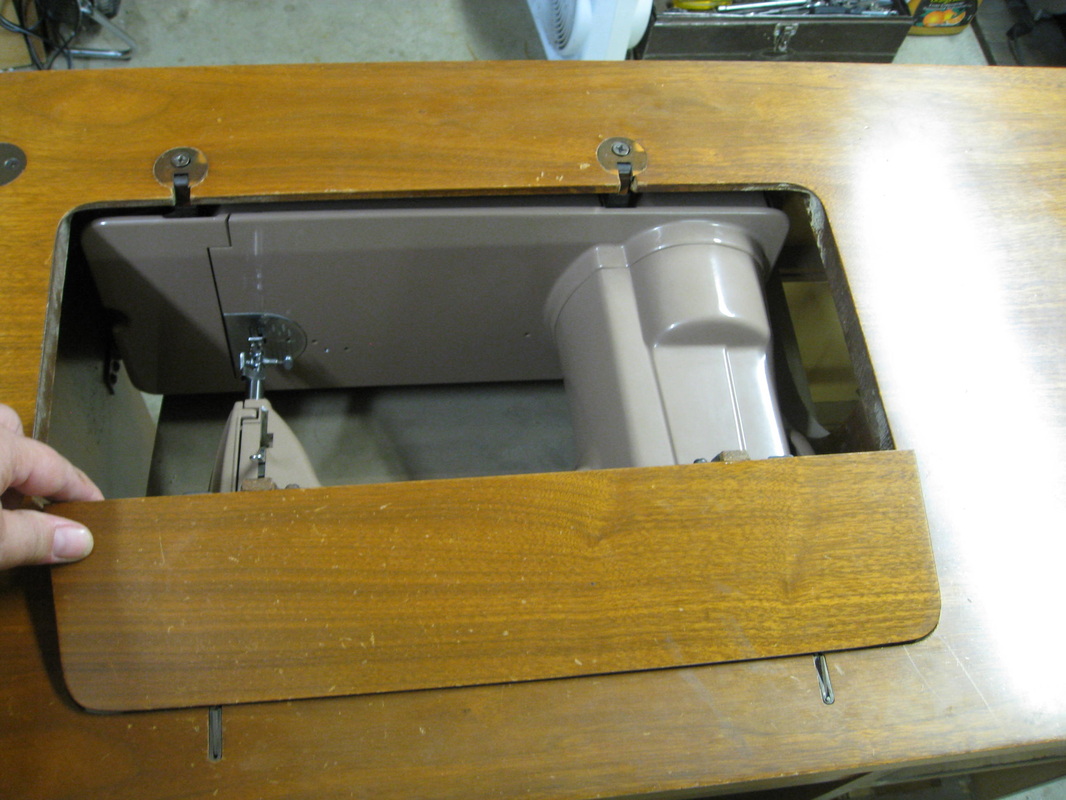
I'm finally back in the sewing room and my latest project calls for long decorative ruffled strips.   How tedious...sigh...

Hold on, didn't Singer make an attachment for that?

​I'm embarrassed to admit that after all these years of loving, refurbishing, and selling these machine I never actually took the time to learn how to use the ruffler.   Time to correct that omission.  So today I pulled out my sewing machine manual and learned something new.  

And let me tell you, the ruffler is a pretty nifty little gadget.  As always, I am amazed at how Greist and Singer found ways to make repetitive sewing tasks simple, precise, and fast.  

​Here's what it looks like:  
So now we've seen it, but how does it work?   
I could try to describe it, but it's so much better to see it in action. 
 

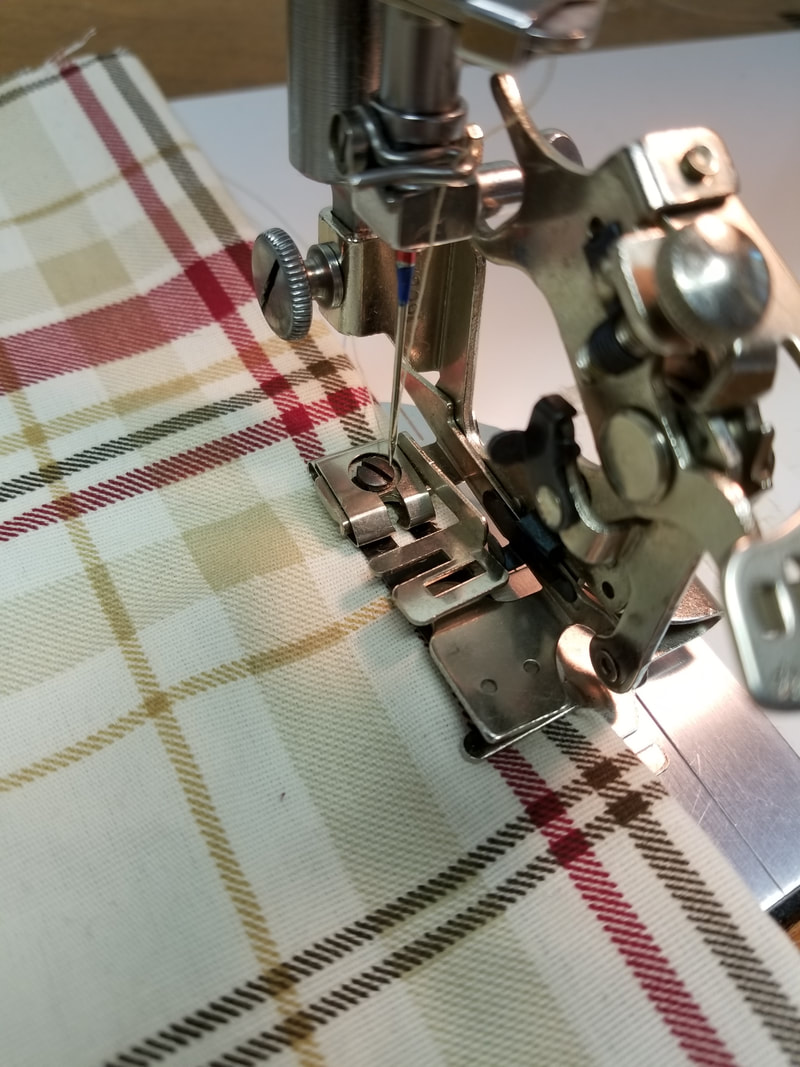
So there you have it - how to use a ruffler.  I'm honestly shocked that I never tried it before.  It's actually very easy to use and the results are beautiful.  

Why not give it a try!    


Happy Sewing!
Barbara


​OldSewinGear...dedicated to helping you get the most out of your old sewing gear.  
9 Comments

Now I've Seen Everything...maybe

10/31/2015

9 Comments

 
Confession time. 

I don't know everything about vintage sewing machines.  

There, I've admitted it.  (I feel so much better now.)

It's true.  Dad and I have bought and sold so many machines over the past eight years that it's easy to think we've seen it all.  But the more you learn about sewing machines, the more you realize how much more there is to learn.
​
Allow me to share a couple of recent discoveries. 
Picture
Over the years we've accumulated a lot of miscellaneous sewing machine parts, accessories, and notions.

Recently I decided to clear out some excess inventory.  
(Really, how is it possible to have 75 buttonholers in one garage?  But I digress...)

In a box of odds and ends I found the round black thing-a-ma-jig pictured above.  I didn't know what it was, but it didn't appear to be sewing related, so I tossed it into a bulk lot of notions and craft supplies to list on eBay.

Later that evening, I was reading a post on a Facebook Vintage Sewing Machine group and suddenly a light bulb went off.  Another member had the exact same black object and wondered what it was.
Picture
It was quickly identified by other members and that's when I realized what we had.   We had the top of a sewing cabinet accessory!  

Coincidentally we had just acquired the other half a few days before.   It was the little glass jar pictured here.  

So what is it, you ask?  See for yourself!


That's right, it's an inkwell from a Singer #42 Art Deco-style sewing machine cabinet.  I already knew from an old Singer catalog that some cabinets originally came with an inkwell.   I also knew that the recently acquired little glass jar was the bottom half of an inkwell, but I didn't know what the top half looked like.  Until now.  

Mystery solved, thanks to the online vintage sewing machine community!
Picture
1950 Singer Catalog
That was humbling...

​So I'm not an expert on sewing machine cabinets.  But I do know my 401's.  Or so I thought until this next item turned up.  
We've bought and sold more than thirty 401A machines over the years and I thought we'd seen every conceivable ​combination of accessories, cabinets, and carrying cases. 
​
We've also seen how machine owners have re-purposed household items into sewing tools.  Some pretty strange stuff turns up in sewing machine cabinet drawers!

Our most recent 401A acquisition came with an unmarked vinyl bag with the foot control and power cord coiled up inside.  I'd never seen one before and concluded it was one of those repurposed items.  So I chucked it in the rubbish bin under my work table.  


Bad idea.  (I should have known better after the inkwell incident.)
Picture
Picture
A couple days later, a fellow VSM group member shared her recent 401A purchase...and there was the same little baggie for the foot control.  So I fished the little bag out of the trash, dusted it (and my pride) off, and put it back with the machine.  

Which just goes to show that vintage sewing machines can always surprise us, no matter how many years we've collected and studied them.  

Drat...I can never throw, sell, or give away anything ever again.  It might turn out to be something useful. 


Happy Sewing!
Barbara

OldSewinGear...dedicated to helping you get the most out of your old sewing gear.   
9 Comments

Do I need Special Discs for my 401 or 500?

12/7/2014

15 Comments

 
This is a very good question, and one I hear often from 401, 500, and 600 owners.

This simple answer?

It depends on how creative you want or need to be. 

As shown on the flip-top chart, the 401 has an impressive array of built-in stitch patterns with almost infinite range of length and width variations.
Picture
Singer 401 built-in stitch chart
Picture
Singer 401A built-in cam-stack.
If you look at the 401's built-in cam stack each cam represents a different stitch pattern.  And when you factor in that the 401 can "combine" two cams to create additional stitch patterns, it's pretty awesome what the 401 can do without Special Discs.

But if you want to get the maximum creative use out of your 401, you will definitely want a set of Special Discs. 

Why?


Picture
Special Disc patterns from 500A manual.
The original accessories kit for the 401 included 5 Special Discs (numbered 1-5) for stitches that are not built-in.   These 5 discs can be combined with the built in Primary stitches to produce additional patterns, such as scalloped zigzag. 

However, Singer produced a total of 24 Special Discs for the Slant-o-Matic and 600-series Touch & Sew family, which means there are 19 additional discs available. 

Some of these additional Special Discs are patterns which are not built-in, while others are duplications of stitches built into the 401.  However, even duplicates can add to the range of stitches the 401 can produce.
"If it's already built-in, why would I want the Special Disc too?
The answer lies in the distinction between "Primary" patterns and "Combination" patterns.

"Primary" patterns use a single cam in the cam-stack to produce the stitch.  This means that the stitch pattern is  unchanged regardless of width and length settings.  In other words, a scalloped stitch simply gets wider or narrower but still looks the same. In the sample shown here, the width of Special Disc #12 has been set progressively wider.
Picture
Special Disc #12 at widths 2, 3, 4, 5 (Primary)
On the other hand, "Combination" patterns use two cams in the stack to produce the stitch pattern.  Which means that a change in stitch width affects the movement of both cams, which can greatly affect the overall appearance of the stitch.  Note in the sample shown here how the appearance of stitch setting DP changes when the width is set progressively wider.  The zigzag blocks get narrower as the offset gets wider.   
Picture
Built in stitch DP at widths 2, 3, 4 (Combination)
While this does add some variety to the built-in stitches, it also means you are somewhat limited when using built-in stitch patterns if you want the pattern wider or narrower.   The 401 and 500 have seven built-in "Primary patterns.  They're shown on the top row of the chart (see photo above) inside the flip-up lid. 
 
Which is where Special Discs come in.  Special Discs are considered "Primary" patterns, so they look the same regardless of width.  Clearly an advantage in some situations.

Another advantage of using a Special Disc is that two-needle stitching only works with "Primary" patterns, because the left-hand stitch selector has to be set on "A."  So if you like the look of a "combination" stitch but want that stitch in double-needle, you'll need to use a Special Disc. 

Built-in Primary patterns can also be combined with certain Special Discs to produce additional stitch patterns. 

The final advantage of Special Discs is that they are just plain easy to use.  Pick a pattern, pop it in, and away you go.  No messing with dials or charts. 

So, DO you need a complete set of Special Discs for your 401, 500, or 600 sewing machine?  

Bottom line, it's up to you.  The choice is yours. 
 
Happy Sewing!
Barbara

OldSewinGear...dedicated to helping you get the most our of your old sewing gear.

For additional information about Special Discs see the articles:
How to Use a Singer Special Disc
Disc-o-mania!  Special Discs & Fashion Discs
15 Comments

Rock-a-bye Baby: Singer 301 Cabinet Cradle

10/26/2014

16 Comments

 
PictureSinger 301 Slant Needle Sewing Machine
So you're the proud owner of a Singer 301 Slant Needle "Featherweight" and you've decided you want to install it in a cabinet.  

So you turn the machine around...

PictureSinger 301 rear view.
Uh-oh, something is missing.  

The good news is your eyes are not playing tricks on you.   


The bad news is that unlike every other full-size vintage Singer, the 301 does not have the holes for mounting cabinet hinges.  

So, now what?


Relax.  There IS a solution, and I'll get to it in a moment.  

But first, a quick history lesson:  

Picture301 has no hinge mounts.
Like the 221 Featherweight, the 301 was designed to be a light-weight portable machine.


The full-size 301 weighed only 16 pounds, had a built--in carry handle and came in a convenient carrying case.

To complement the perfect portable machine, Singer designed some brilliant cabinet options.  

One option was a lightweight folding card-table with built-in support  brackets.  Space-saving and simple for a small house or apartment.  

But Singer knew some customers would want to use their 301 in a full-size cabinet.  Which presented a bit of a problem. After all, anchoring the perfect portable into a cabinet with fixed hinges rather defeated the purpose of designing a portable in the first place!

PictureSinger 301 cabinet cradle (part # 170112)
So Singer devised a creative solution. 

First they offered the 301 in two configurations:  long-bed and short-bed.  

The long-bed version was intended for portable use only,  but could also be used in some card tables.  (Long-bed card tables are still out there, but they are hard to find.)   

The short bed version was paired with a clip-on bracket/cradle  (Simanco part # 170112, shown above) which mounted inside the cabinet using standard swivel hinges.  The machine clipped into the cradle, turning the perfect portable into the perfect cabinet machine.  But with the press of a lever the machine could be quickly removed for portable use.  

It's an odd-looking contraption, but the perfect complement to the "Full-Size Featherweight."   (NOTE:  Some Singer cabinets are not compatible with the 301 cradle because the front edge support brackets cannot be installed.  See photos and additional note at end of article.)  

So what does this look like?  First, let's take a look at how the cradle attaches to the machine and how the quick-release lever works:  

Next, we'll look at how to attach hinges:  
(Note:  hinges are shown being installed on a 401 but the installation process is identical for the 301 cradle.)
Finally, we'll take a look at how the machine with cradle mounts in the cabinet:
See "Hide and Seek - Singer Sewing Machine Cabinet" for video demonstration.  
Yep, it's that simple.  Keep in mind, however, that this only works if your 301 is a short-bed model.  If you have a long-bed 301 then you'll either have to modify the machine or the cabinet for it to fit.  Or you can keep your eyes open for a card table designed to fit the long-bed.  These are pretty rare, though.  

301 cabinet cradles are usually available on eBay.  Check your cabinet to see it if already has the front edge support brackets.  If not, you'll want to look for a cradle that includes them.  Check your machine to see if the hinge mounting set screws are already in place.  If not, you'll want to make sure set screws are included in when you purchase the cradle and/or hinges.  

There, problem solved, just as promised at the beginning of this article!

Happy Sewing!
Barbara
OldSewinGear...dedicated to helping you get the most out of your old sewing gear.  

See "Got Steel?  Singer 301--the Featherweight's Big Sister" for more information on the Singer 301 Slant Needle.  


See "Hide and Seek - Singer Sewing Machine Cabinet" for video of setting up and stowing away a sewing machine in a cabinet.  
Note:  The front edge support brackets require a flat surface on the inside edge of the front lift panel.  Some cabinets have a protruding lip which supports the front edge of the machine, which will not work with the 301 cradle.  Please review the above photos to see how the front edge support brackets attach to the cabinet and see below for examples of a cabinet that WILL NOT work with the cabinet cradle.  
Special thanks to readers David, Lisalu, and Ann for sharing experiences and research that led me to make significant revisions to this article in the interests of accuracy and clarity.  
16 Comments
<<Previous

    News, Reviews, 
    & How-To's

    See "Article Index" for list of past articles by title. 

    See "Frequently Asked Questions" for quick answers to common questions.  

    Check out "Cheat Sheets" to download printable reference sheets.

    See "Resources" for links to useful websites and forums. 

    Contact Us

    Questions, comments
    ​or suggestions? 
    Contact us!  

    Categories

    All
    15-125
    15 91
    192 Spartan
    201
    221 Featherweight
    301
    328
    401
    403
    411
    500
    503
    600
    603
    626
    99
    Adjustment/repair
    Appraisal & Pricing
    Attachments
    Bobbin
    Centennial
    Checklist
    Dating
    Greist
    Historical Info
    How To
    Japanese
    Miscellaneous
    Model Comparisons
    Reviews
    Shipping
    Singer
    Slant Needle
    Tips & Tricks
    Toyota
    Toys
    Treadle
    Video


    Archives

    June 2020
    April 2020
    August 2019
    March 2018
    October 2015
    August 2015
    March 2015
    January 2015
    December 2014
    November 2014
    October 2014
    August 2014
    June 2014
    March 2014
    February 2014
    December 2013
    November 2013
    September 2013
    August 2013
    July 2013
    June 2013
    May 2013
    April 2013
    March 2013
    February 2013
    December 2012
    November 2012
    October 2012
    September 2012
    August 2012
    June 2012


    About Us

    OldSewinGear is the collaborative effort of retired repairman Gary and daughter Barbara.  We love old sewing gear and enjoy sharing what we've learned in our vintage sewing machine adventures.  We are located in Roseburg, Oregon. 


    RSS Feed

© 2019 OldSewinGear
  • Blog
    • Blog Index
    • Site Map
  • Singer
    • Slant Needle >
      • 301
      • 401 / 403 / 404
      • 500 / 503
      • 601 / 603 /604
    • Class 15 Machines
    • Class 66 Machines
    • Featherweight
    • Swing Needle
    • Toy Machines
    • Accessories >
      • Buttonholer
      • Discs & Cams
  • Others
    • Pfaff
    • Elna
    • Necchi
    • Japan Class 15
  • Resources
    • FAQ
    • Links
    • Cheat Sheets
    • Shipping & Packaging
  • Contact
    • About Us