OldSewinGear
Blog
Blog Index
Site Map
Singer
Slant Needle
>
301
401 / 403 / 404
500 / 503
601 / 603 /604
Class 15 Machines
Class 66 Machines
Featherweight
Swing Needle
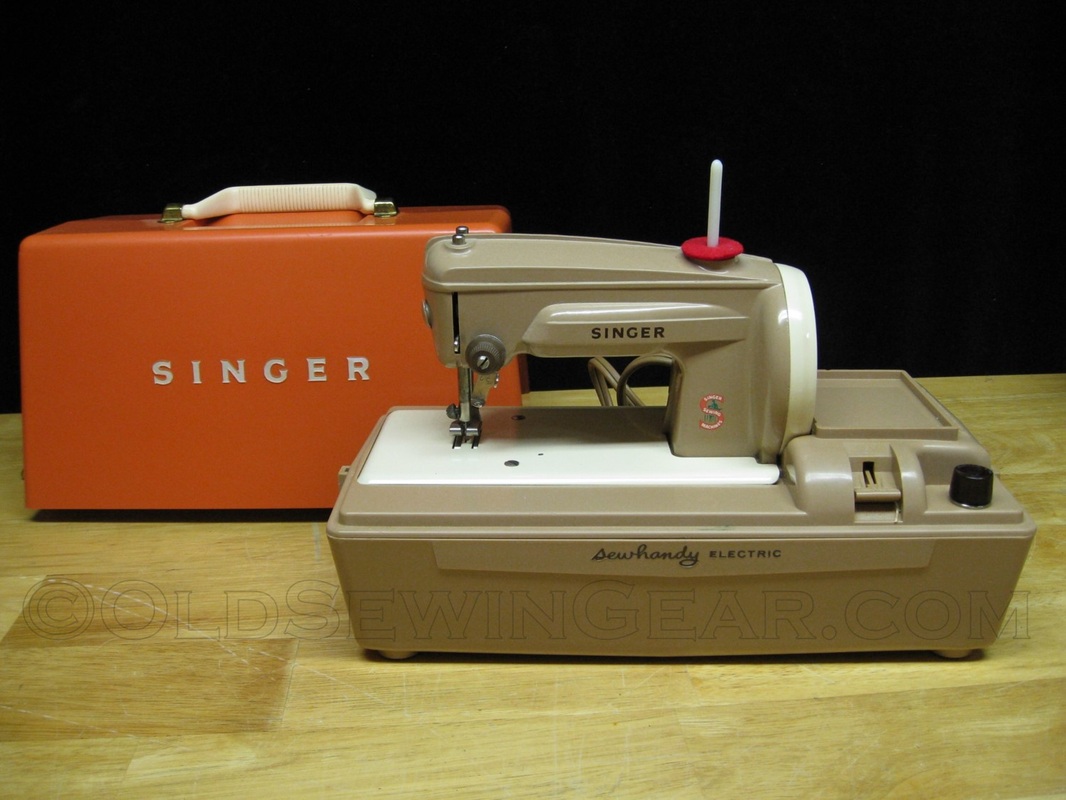
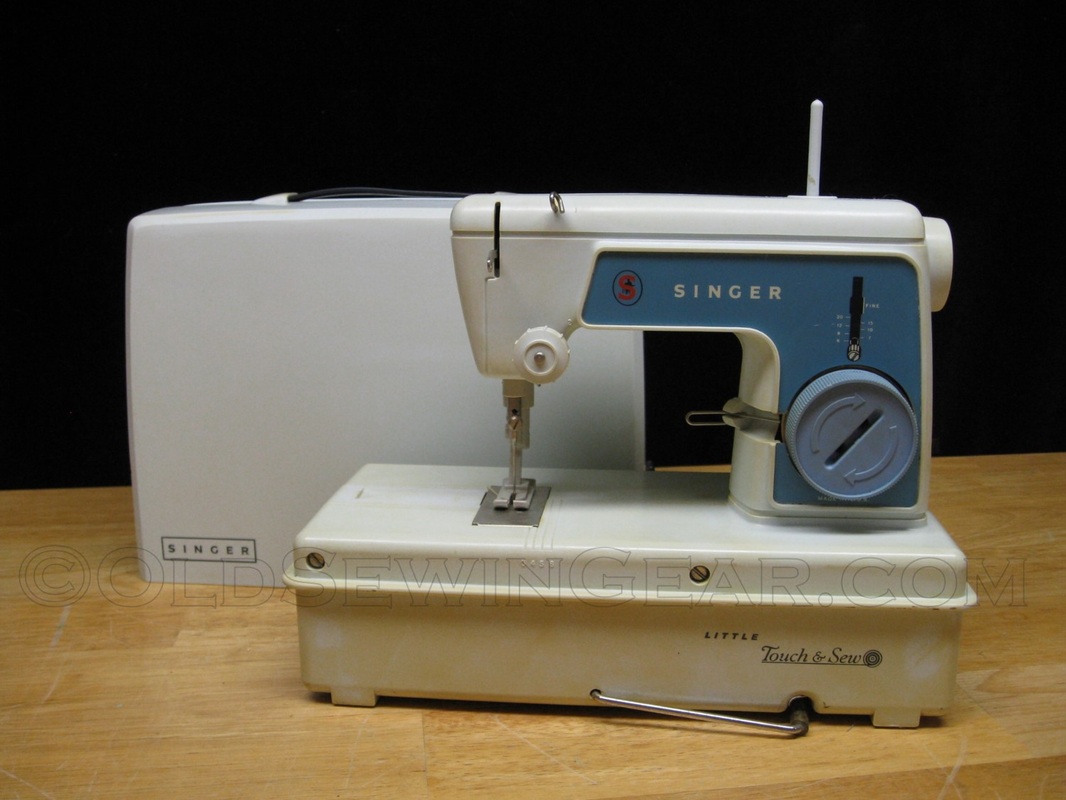
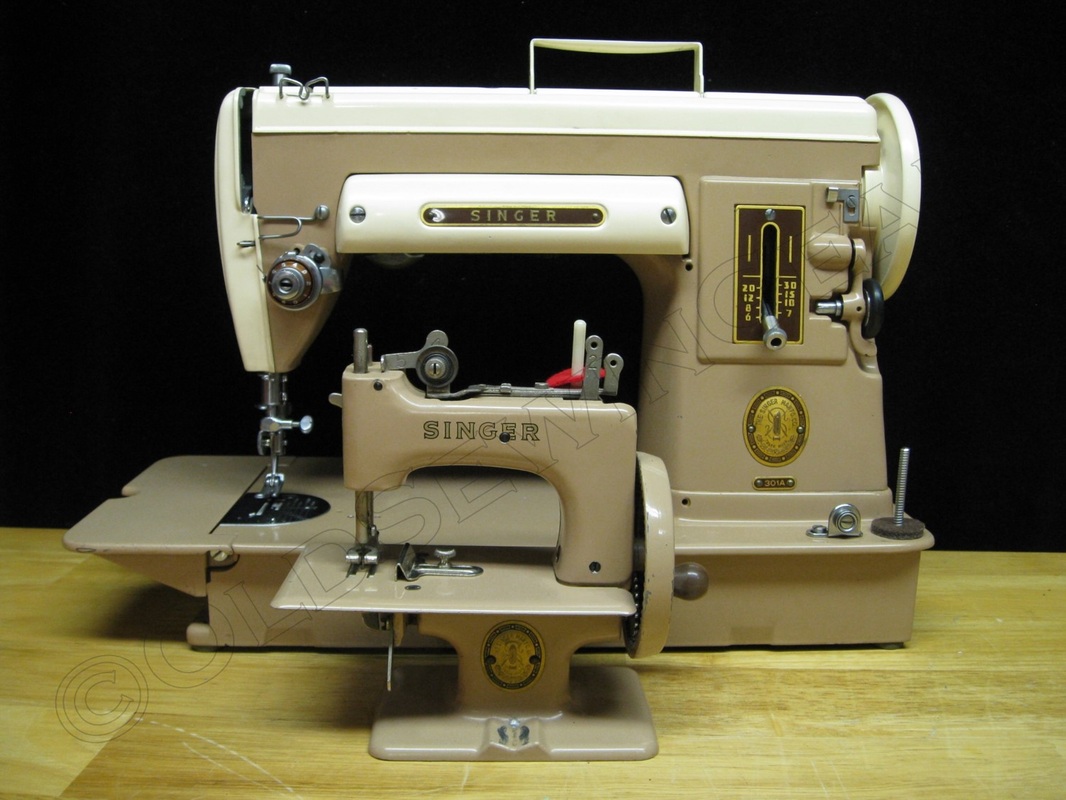
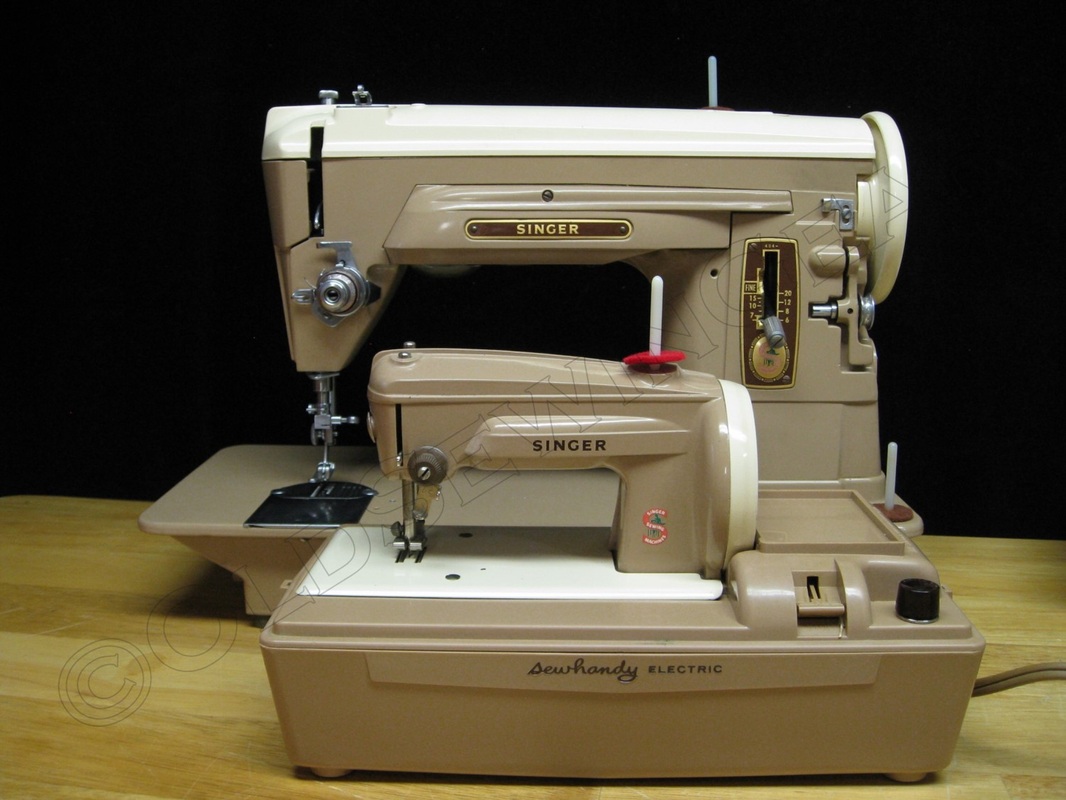
Toy Machines
Accessories
>
Buttonholer
Discs & Cams
Others
Pfaff
Elna
Necchi
Japan Class 15
Resources
FAQ
Links
Cheat Sheets
Shipping & Packaging
Contact
About Us
Blog
Blog Index
Site Map
Singer
Slant Needle
>
301
401 / 403 / 404
500 / 503
601 / 603 /604
Class 15 Machines
Class 66 Machines
Featherweight
Swing Needle
Toy Machines
Accessories
>
Buttonholer
Discs & Cams
Others
Pfaff
Elna
Necchi
Japan Class 15
Resources
FAQ
Links
Cheat Sheets
Shipping & Packaging
Contact
About Us


 RSS Feed